How to switch expense management software without a reimbursement gap
Most employees won't notice when their company switches expense software. They only notice when a reimbursement doesn't arrive.
Avoiding that is about doing things in the right order. Save your old data before you cancel, connect your cards to the new tool before you disconnect the old one, and set up your accounting connection and approvals. Then, run both tools side by side for one expense cycle before you switch over.
The software is usually the easy part. Most delays come from waiting on your bank or sorting out your accounting setup. You need a plan that works, no matter which tool you're leaving, whether that's Ramp, Brex, BILL Spend & Expense, Zoho Expense or a folder of spreadsheets.
Key takeaways
- Switching expense software goes smoothly when you do things in the right order.
- Certified Fraud Examiners estimate organizations lose 5% of revenue to fraud each year, so keep approvals running during the switch.
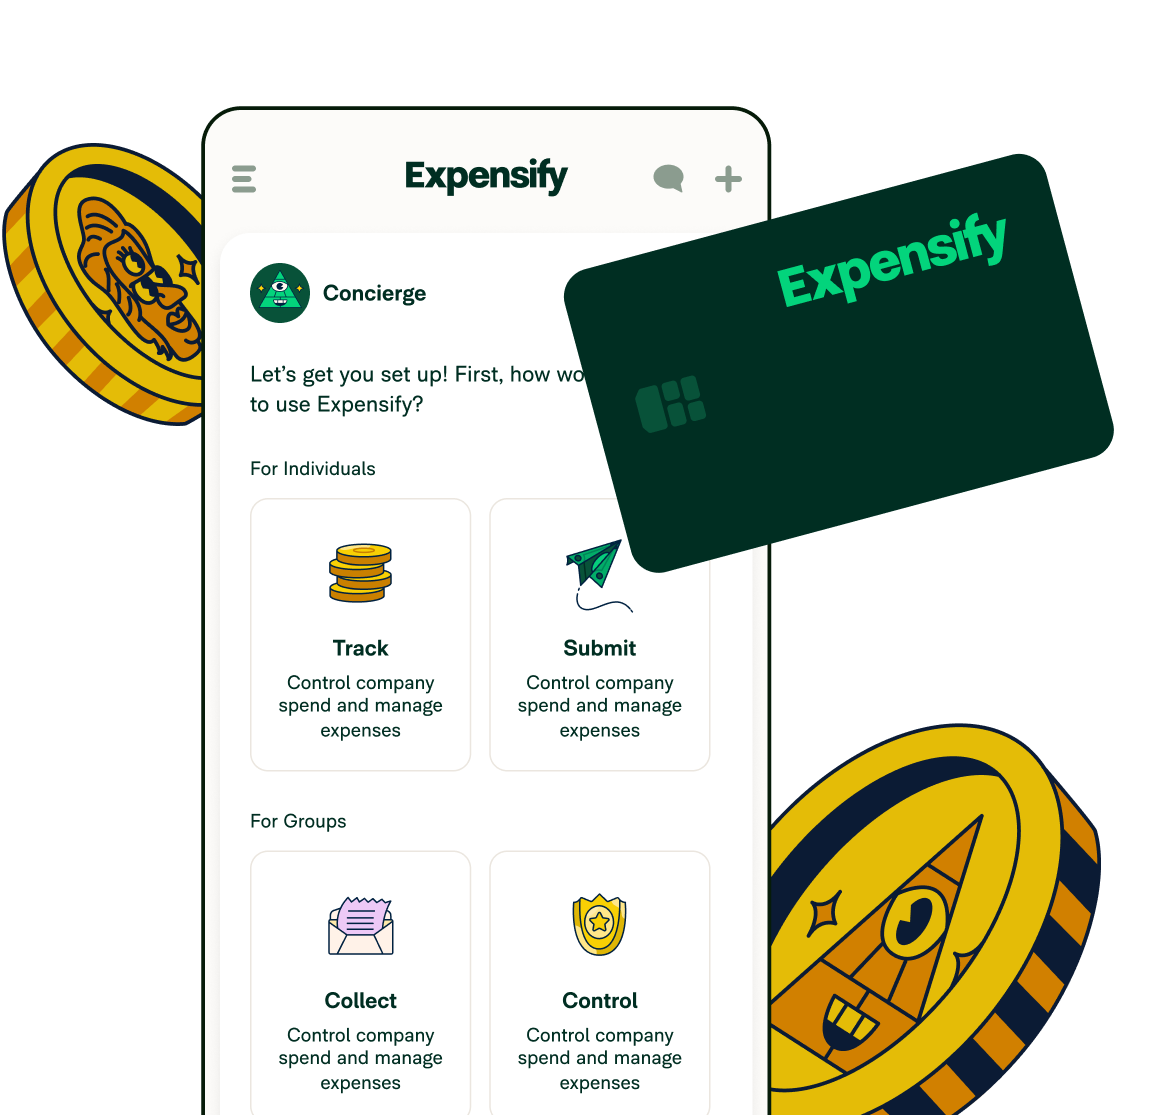
- Expensify connects the cards you already have from 10,000+ banks, so there are no new cards to issue.
- The weeks when both tools are running carry more risk than the switch date itself.
- Export your old data before you give notice, since access usually ends with the contract.
What has to move when you switch expense tools
Every expense management platform handles the same four jobs, and some take longer to move than others.
Past expenses. Every expense, receipt, and report already in the old tool.
Card feeds. The connections that bring company card transactions into the tool.
Accounting connection. How approved expenses get into your accounting system, with the right categories and tax codes.
Approvals. Who approves what, and in what order.
Exporting data is quick if you do it before the contract ends. Approvals take some care, but your finance team controls every setting.
Card feeds and accounting take the longest because you're waiting on other people. Your bank handles the card feeds, and your accountant or ERP admin handles the accounting setup. So, start with those two first.
Export your historical data before you give notice
Before you cancel your old expense management software, download your expense details, receipt images and approval history. Do it while the contract is still active. Check your contract for what happens to your data when it ends, and don't count on extra time.
This step is easy to put off. Once you've given notice, it gets buried under everything else, and next year's audit will still need those receipts.
Get each of these before you lose access:
Expense details. One row per expense, with the date, merchant, amount, category, tags and report ID. Report summaries leave out individual expenses, so ask for an expense-level CSV export.
Receipt images. These usually download separately. Make sure you can match each image to its expense, or you'll end up with a folder of receipts and no way to sort them.
Approval history. Who approved each expense report, when, and any comments or rejections. If this only appears in report PDFs, download those too.
Save everything as CSV or PDF so you can open it later without the old tool. You probably won't need old reports in the new tool, but you'll need to find them.
Tax and audit rules decide how long you keep records, and that's usually longer than your software contract. Ask your accountant, and store the files somewhere your finance team controls.

Moving your card feeds without losing transaction history
Switching expense software doesn't have to mean switching cards. Many tools can connect to the cards your team already uses, so you keep your credit limits and rewards.
Expensify lets you Bring Your Own Cards (BYOC) from 10,000+ banks, so there are no new cards to order or hand out. Some tools work differently, however.
Ramp, for example, issues its own cards and reimburses spending on other cards, with personal cards connected through Plaid on Ramp Plus.

Setup time varies by connection type, which is either via direct connection or commercial feed. Here’s a breakdown:
Direct connection. An admin logs in to the bank from the expense tool, and the cards connect right away. You can set up a direct company card feed in one sitting.
Commercial feed. The bank sends card data in a standard file format, such as Visa VCF, Mastercard CDF or American Express GL1025. The bank usually has to set this up first, so you'll be waiting on them.
A new feed won't bring in months of old transactions. Commercial feeds usually start from the day the bank turns them on, so export your history first.
Keep the old feed on until the new one matches a full bank statement. If you turn the old one off too early, some transactions won't make it into either tool, and someone will have to add them by hand.
Reconnecting your accounting integration
You keep your accounting system. You're just connecting QuickBooks, NetSuite, Xero, or Sage Intacct to a new expense tool and setting up how expenses get recorded.
Settings rarely carry over between tools, so plan to set these up again:
Chart of accounts. Many tools pull in your accounts as expense categories when you connect. Remove any categories employees shouldn't use.
Categories and tags. Departments, locations, classes and projects need to match your accounting system, or expenses will be exported with blank fields.
Tax rates. Re-enter VAT, GST, or sales tax rates and test them with a real receipt.
Here’s a tip: Watch out for duplicates. Reports the old tool already sent to your accounting system shouldn't be sent again, so set the new tool to export only reports submitted after your switch date.
Getting this right is also what makes corporate card reconciliation automatic instead of a month-end chore.
Check which plan includes your accounting system before you sign. Expensify connects QuickBooks Online and Xero on the Collect plan, while QuickBooks Desktop, NetSuite, and Sage Intacct need Control.
Rebuilding approval rules without leaving a control gap
Approvals are easy to get wrong during a switch. If they're only half set up, reports either get stuck or get approved without anyone checking, and the second problem is harder to spot.
Start by writing down how approvals work today, like who approves each team, who signs off on bigger expenses, and which categories need extra review. Then set up the same rules in the new tool, including multi-level approval chains if you use them.
Test before you switch. Have one person from each team submit a small, real expense and follow it all the way to payment. If it gets stuck or skips someone, you've caught the problem early.
Certified Fraud Examiners estimate organizations lose 5% of revenue to fraud each year, according to the ACFE's Occupational Fraud 2026 report. Even a few weeks without working approvals is a risk you don't need to take.
Moving a travel program is its own project
If you switch travel expense management software, you're moving trips that are already booked as well as your settings. A flight booked in the old tool still has to be changed or canceled there.
Global business travel spending is forecast to reach a record $1.71 trillion in 2026, according to GBTA's 18th Business Travel Index Outlook. More travel means more trips already on the books when you switch.
Before the switch, a travel admin should plan for each of the following:
Trips already booked. Leave them in the old tool, and keep access until the last one is over.
Traveler profiles. Loyalty numbers, seat preferences and payment details need to be entered again. Ask travelers to update them before their next trip.
Travel policy. Rebuild and test rules like cabin class, hotel limits and how far ahead people have to book.
Unused tickets and credits. Ask your current provider how these are tracked after you leave, and make a list before you lose access.
Pick a date when all new bookings move to the new tool. If you're coming from Concur, see how Expensify Travel compares with Concur Travel.
How to avoid a reimbursement gap during the switch
To avoid a reimbursement gap, pick a cutoff date for submitting expenses in the old tool, run both tools side by side for one full expense cycle, decide which tool pays reports that cross the cutoff, and tell employees the date at least one cycle ahead.
Most problems happen during the overlap. For a few weeks, some people submit in the old tool, some in the new one, and a few in both. Set a clear rule for each case so nobody gets paid twice or not at all.
Cutoff date. After this date, the old tool takes no new reports. Pick the day after a reimbursement run so nothing's left waiting.
Reports that cross the cutoff. Go by submission date. Anything submitted before the cutoff gets paid from the old tool, even if it's approved later.
Bank details. Employees need to add their bank details in the new tool before its first payout. Send a reminder a week ahead.
Employees abroad. If you're reimbursing employees in other countries, check that the new tool supports their country and currency.
Announce the cutoff twice, when you set it and again the week before. People who travel will have receipts from both sides of the date.
A step-by-step sequence to switch expense management software
Here's the full order for an expense management software implementation to make the switch as fast and easy as possible.
Step 1: Export your old data
Download expense details, receipt images, and approval history before you give notice. Nothing needs to happen before this step.
Step 2: Ask your bank for new card feeds
Ask your bank to set up card feeds for the new tool as soon as you've chosen it. Start early, since you can't control how long the bank takes.
Step 3: Connect your accounting system
Connect the new tool to your accounting system and set up categories, tags, and tax rates. Do this before approvals, because approvals rely on expenses being coded correctly.
Step 4: Set up and test approvals
Rebuild each approval chain and send one small expense through each to payment. Do this after the accounting setup is done.
Step 5: Set and announce a cutoff date
Pick the day the old tool stops taking reports and tell employees at least one expense cycle ahead. Wait until the new tool is tested so you can stick to the date.
Step 6: Run both tools for one cycle
Use both tools for one full expense cycle, with the old tool paying reports submitted before the cutoff. Card feeds and approvals need to be working in the new tool first.
Step 7: Turn off the old tool
Disconnect old card feeds and cancel the contract once the new feeds match a full bank statement and the last old reimbursement has been paid. This is always the last step.
Where Expensify fits
If you're considering Expensify, a few of these steps get easier when you switch expense management software.
Keep your cards. Expensify connects cards from 10,000+ banks with rewards intact, so bringing your existing cards to Expensify means no new cards to hand out.
A card if you want one. The Expensify Visa® Commercial Card is optional. It draws from your business bank account, with no deposit and no credit check.
Pay people almost anywhere. Global reimbursement covers 160+ currencies, 190+ countries, and 20+ payment rails. Payments need to come from a business bank account in the US, Canada, UK, EU, or Australia.
Simple pricing. The Collect plan is a flat $5 per member per month, with reimbursements, card management, approvals, QuickBooks Online and Xero included. You don't have to use the Expensify Card.
Ease of use matters most during a switch, when everyone's learning a new app. Employees snap receipts with SmartScan, managers approve from their phones, and finance gets clean exports.
And if you're still comparing tools, see how Expensify stacks up against seven popular alternatives.
FAQs about how to switch expense management software
-
No. Switching expense software and switching cards are separate decisions. Many tools connect to the cards you already have. Expensify, for example, connects cards from 10,000+ banks, and you keep your rewards.
-
Neither requires its own card for reimbursements.
Ramp reimburses spending on other cards, and on Ramp Plus employees can connect personal cards through Plaid.
Brex lets employees without a Brex card submit reimbursement requests, while Expensify connects outside company cards directly from 10,000+ banks.
-
The software is rarely the slow part. Card feed setup at your bank and your accounting setup take the longest, because you're waiting on other people. Plan for one full expense cycle with both tools running, and ask your bank for new card feeds as soon as you've chosen a tool.
-
Download expense details, receipt images and approval history while your contract is still active. Access usually ends when the contract does. Make sure each receipt matches an expense in your export.
-
Yes, until a set cutoff date. Run both tools for one expense cycle, pay reports submitted before the cutoff from the old tool, and tell employees the date at least one cycle ahead.