May 2026 Expensify product update: Policy controls, card management, and bulk editing
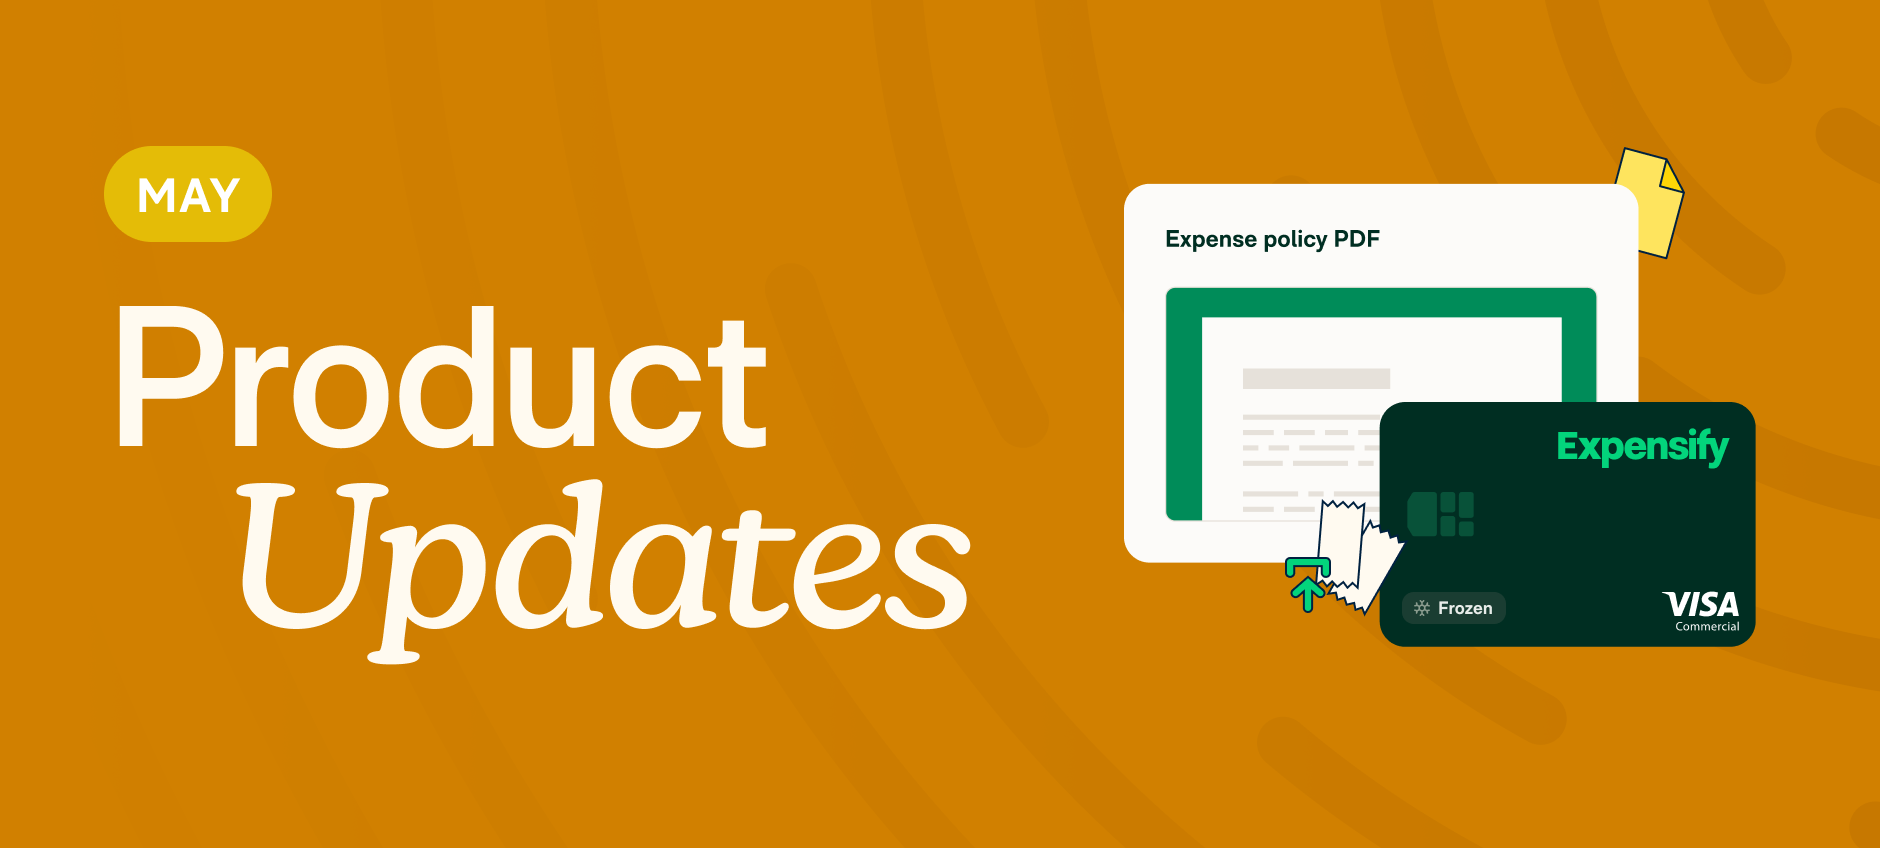
This month's updates give admins more tools to manage their teams and keep spending on track, from uploading an expense policy to freezing a card on the spot. Here's what's new.
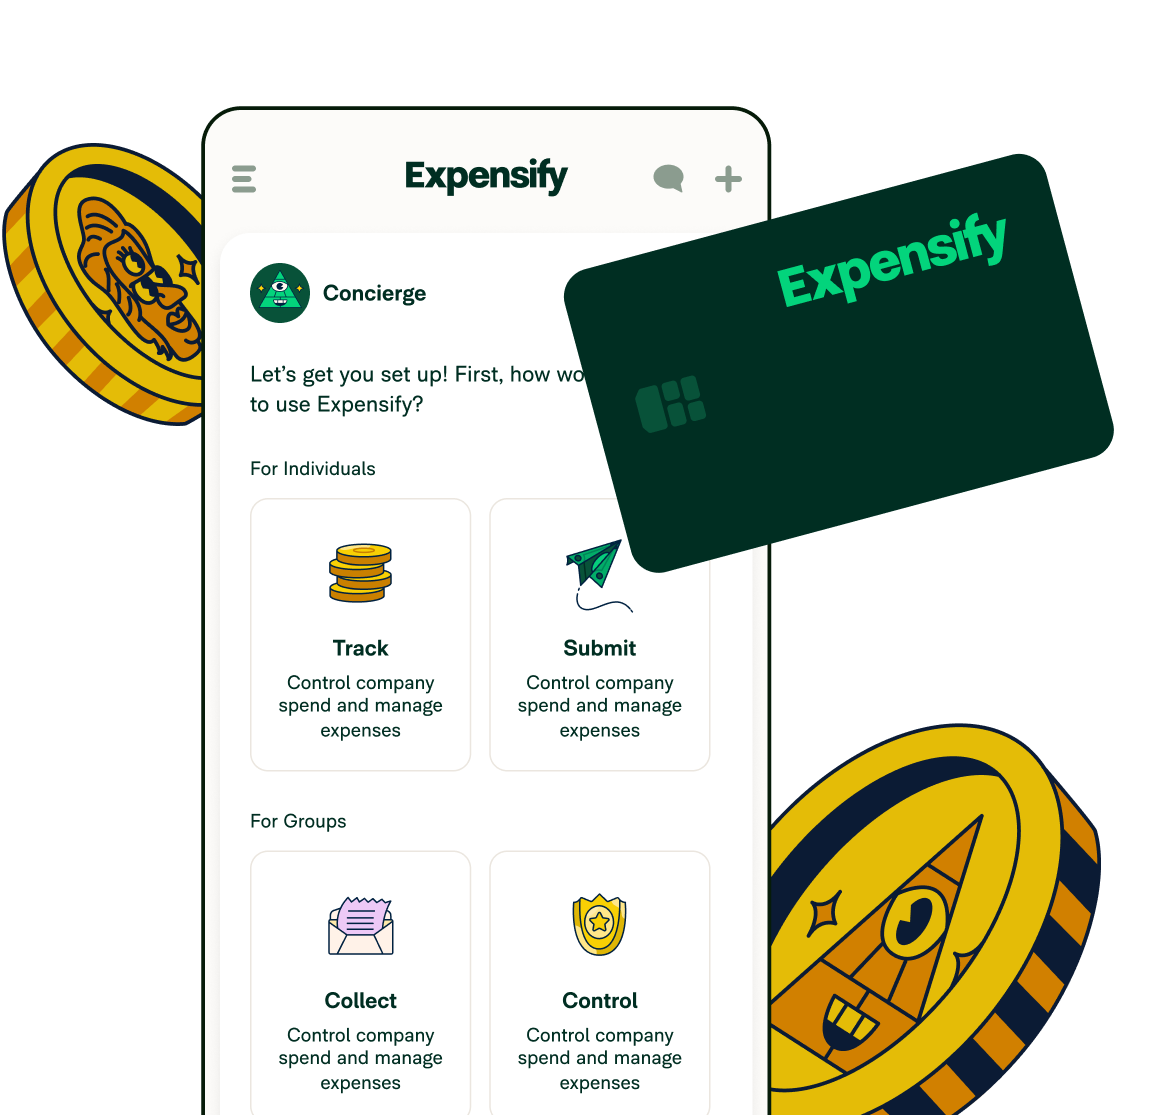
TL;DR – What’s new in Expensify (May 2026)
- Upload your expense policy as a PDF, visible to all employees
- Freeze and unfreeze Expensify Cards directly from the app
- Edit multiple expenses at once
- Attach multiple receipts to a single expense
- Customize columns in your individual report view
- Import company card transactions via CSV
- Export your card list from the workspace editor
- Add new categories without leaving an expense
- Recover deleted expenses and receipts
- Filter by export destination in search
- Assign Expensify Cards to users outside your domain
More control, fewer workarounds
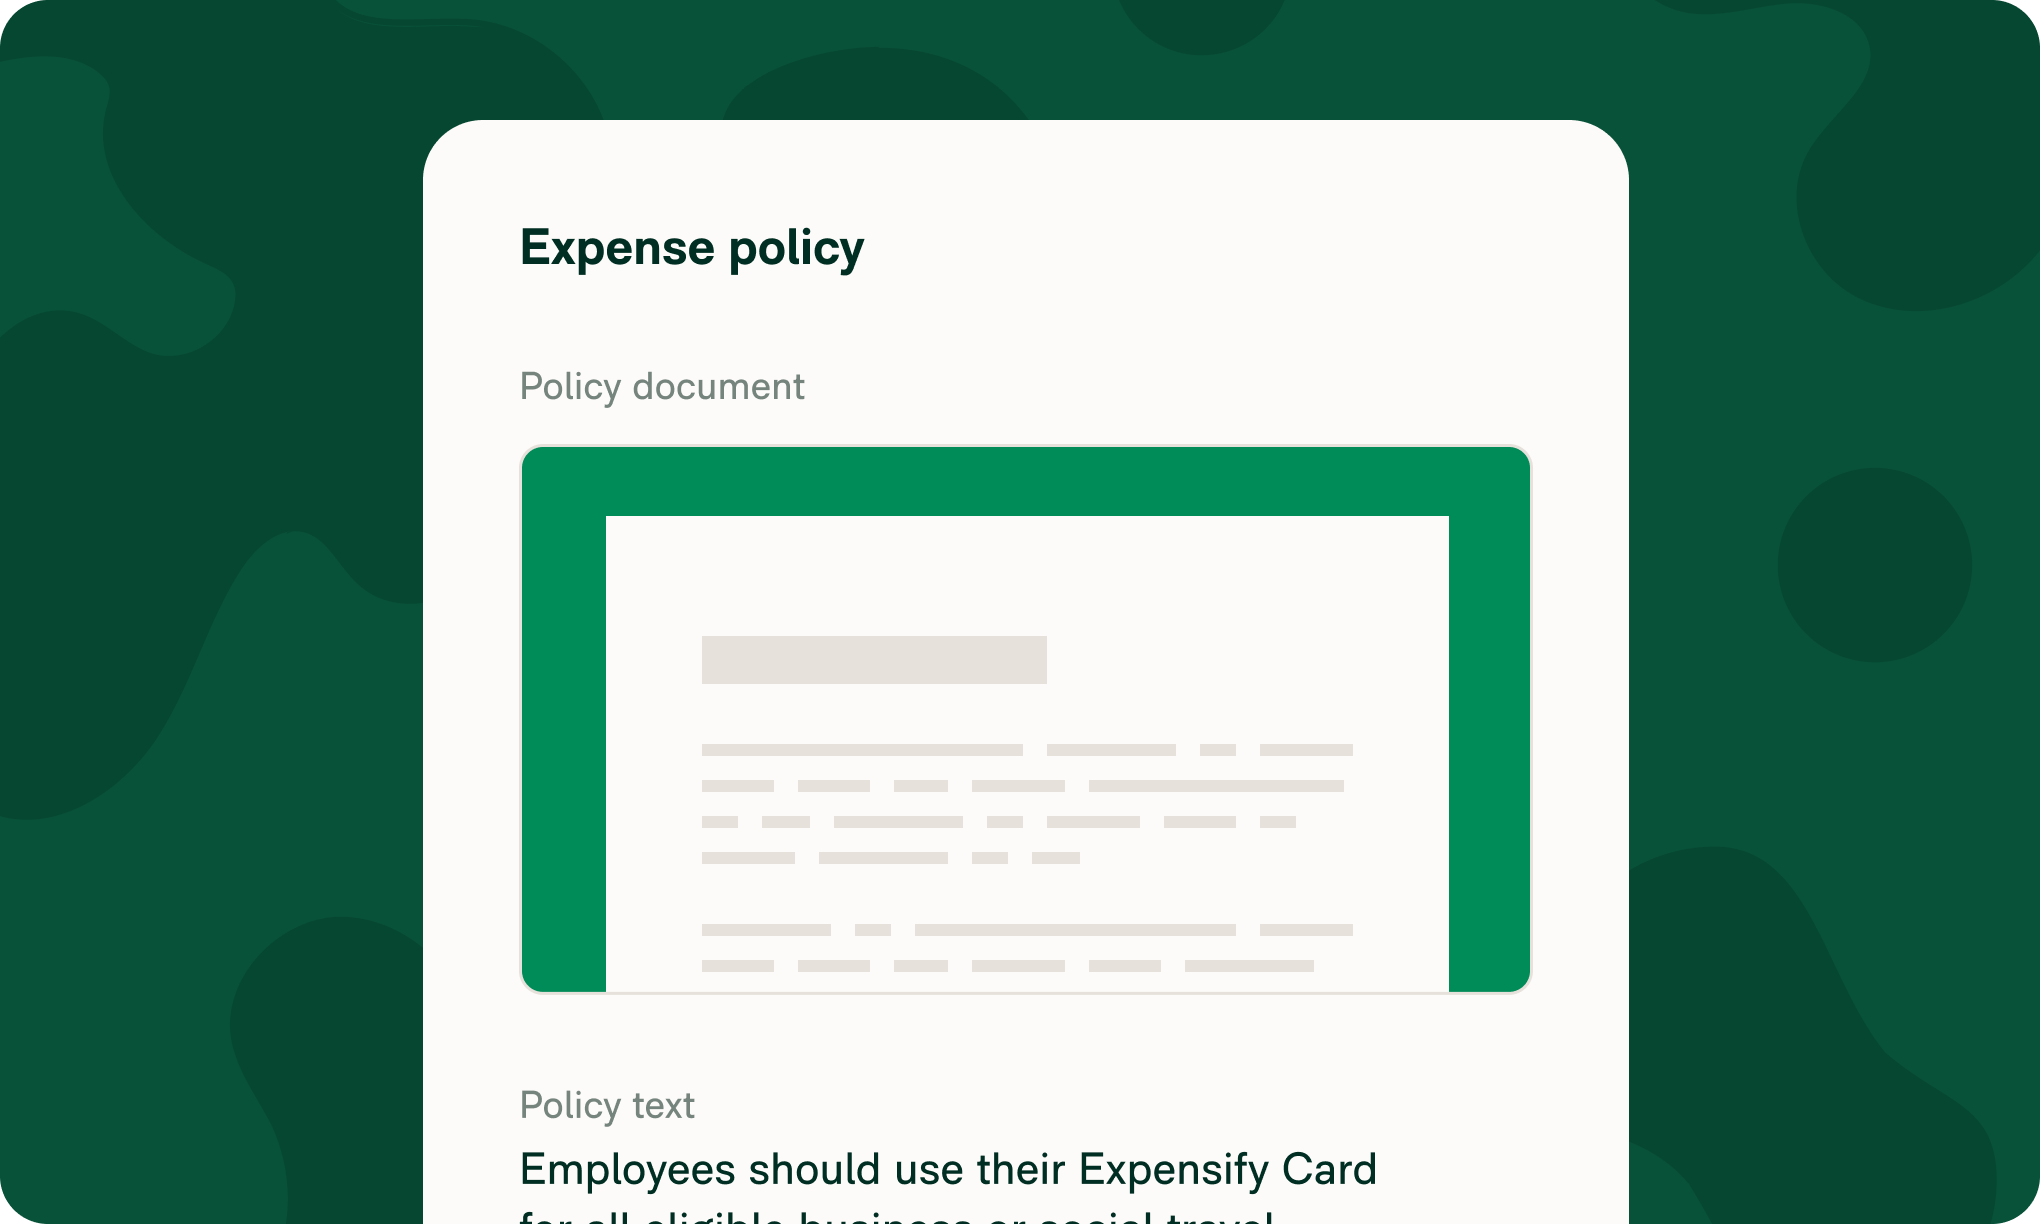
Upload your expense policy PDF
Admins can now upload a PDF of their expense policy directly to their workspace, making it visible to all employees in one place. Learn how to upload your expense policy.
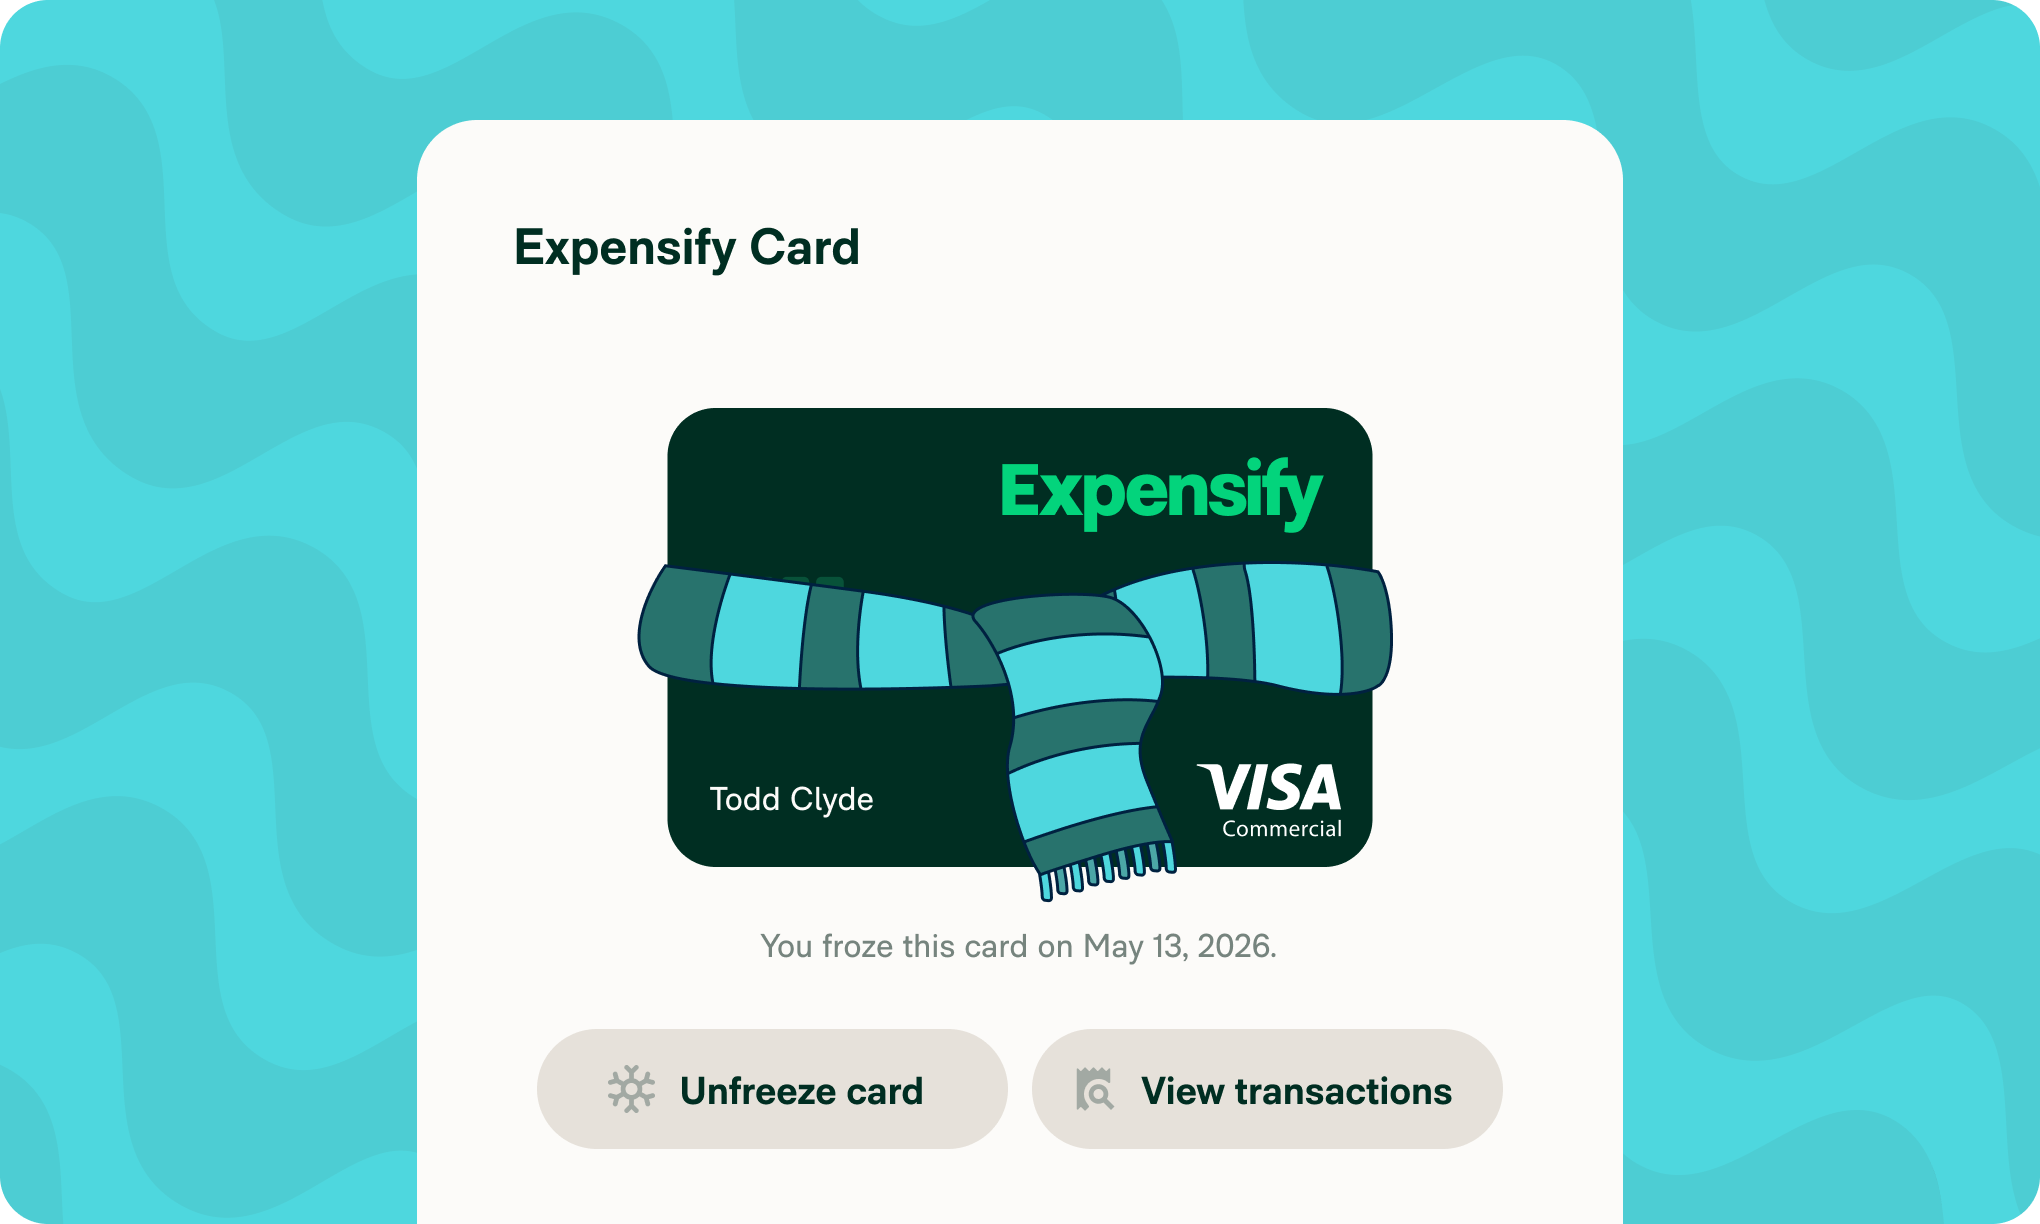
Freeze (or unfreeze) your card
Lost a card or spotted something suspicious? You can now freeze and unfreeze Expensify VisaⓇ Commercial Cards directly from the Card Details panel; no need to contact support. Learn how to freeze and unfreeze your Expensify Card.
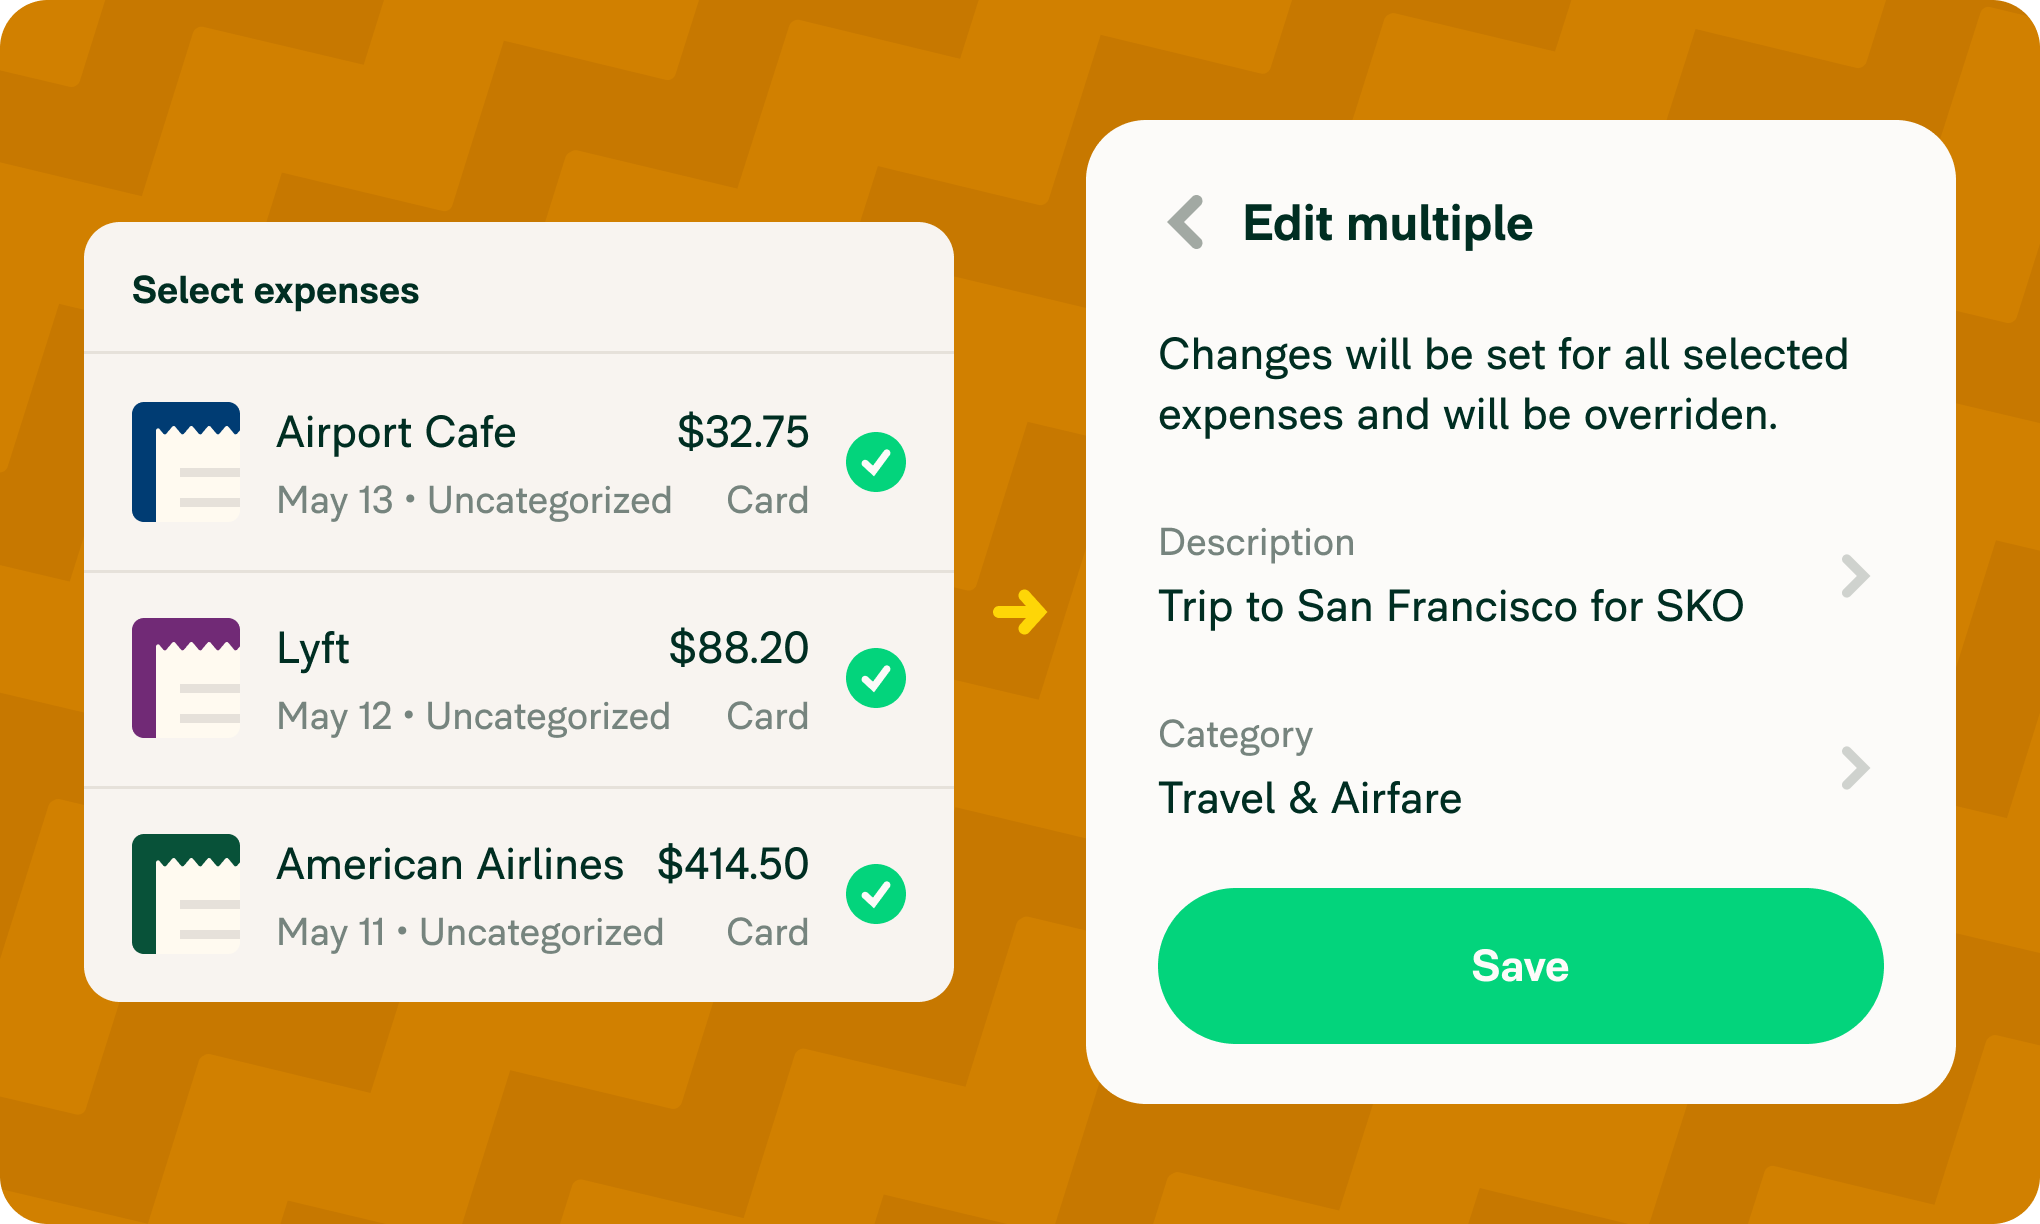
Bulk edit expenses
Coding expenses one by one takes long enough. Now, you can select multiple expenses and update the category, tag, merchant, description, or date across all of them at once. You can also move, download, hold, or delete expenses in bulk. Learn how to edit multiple expenses at once.
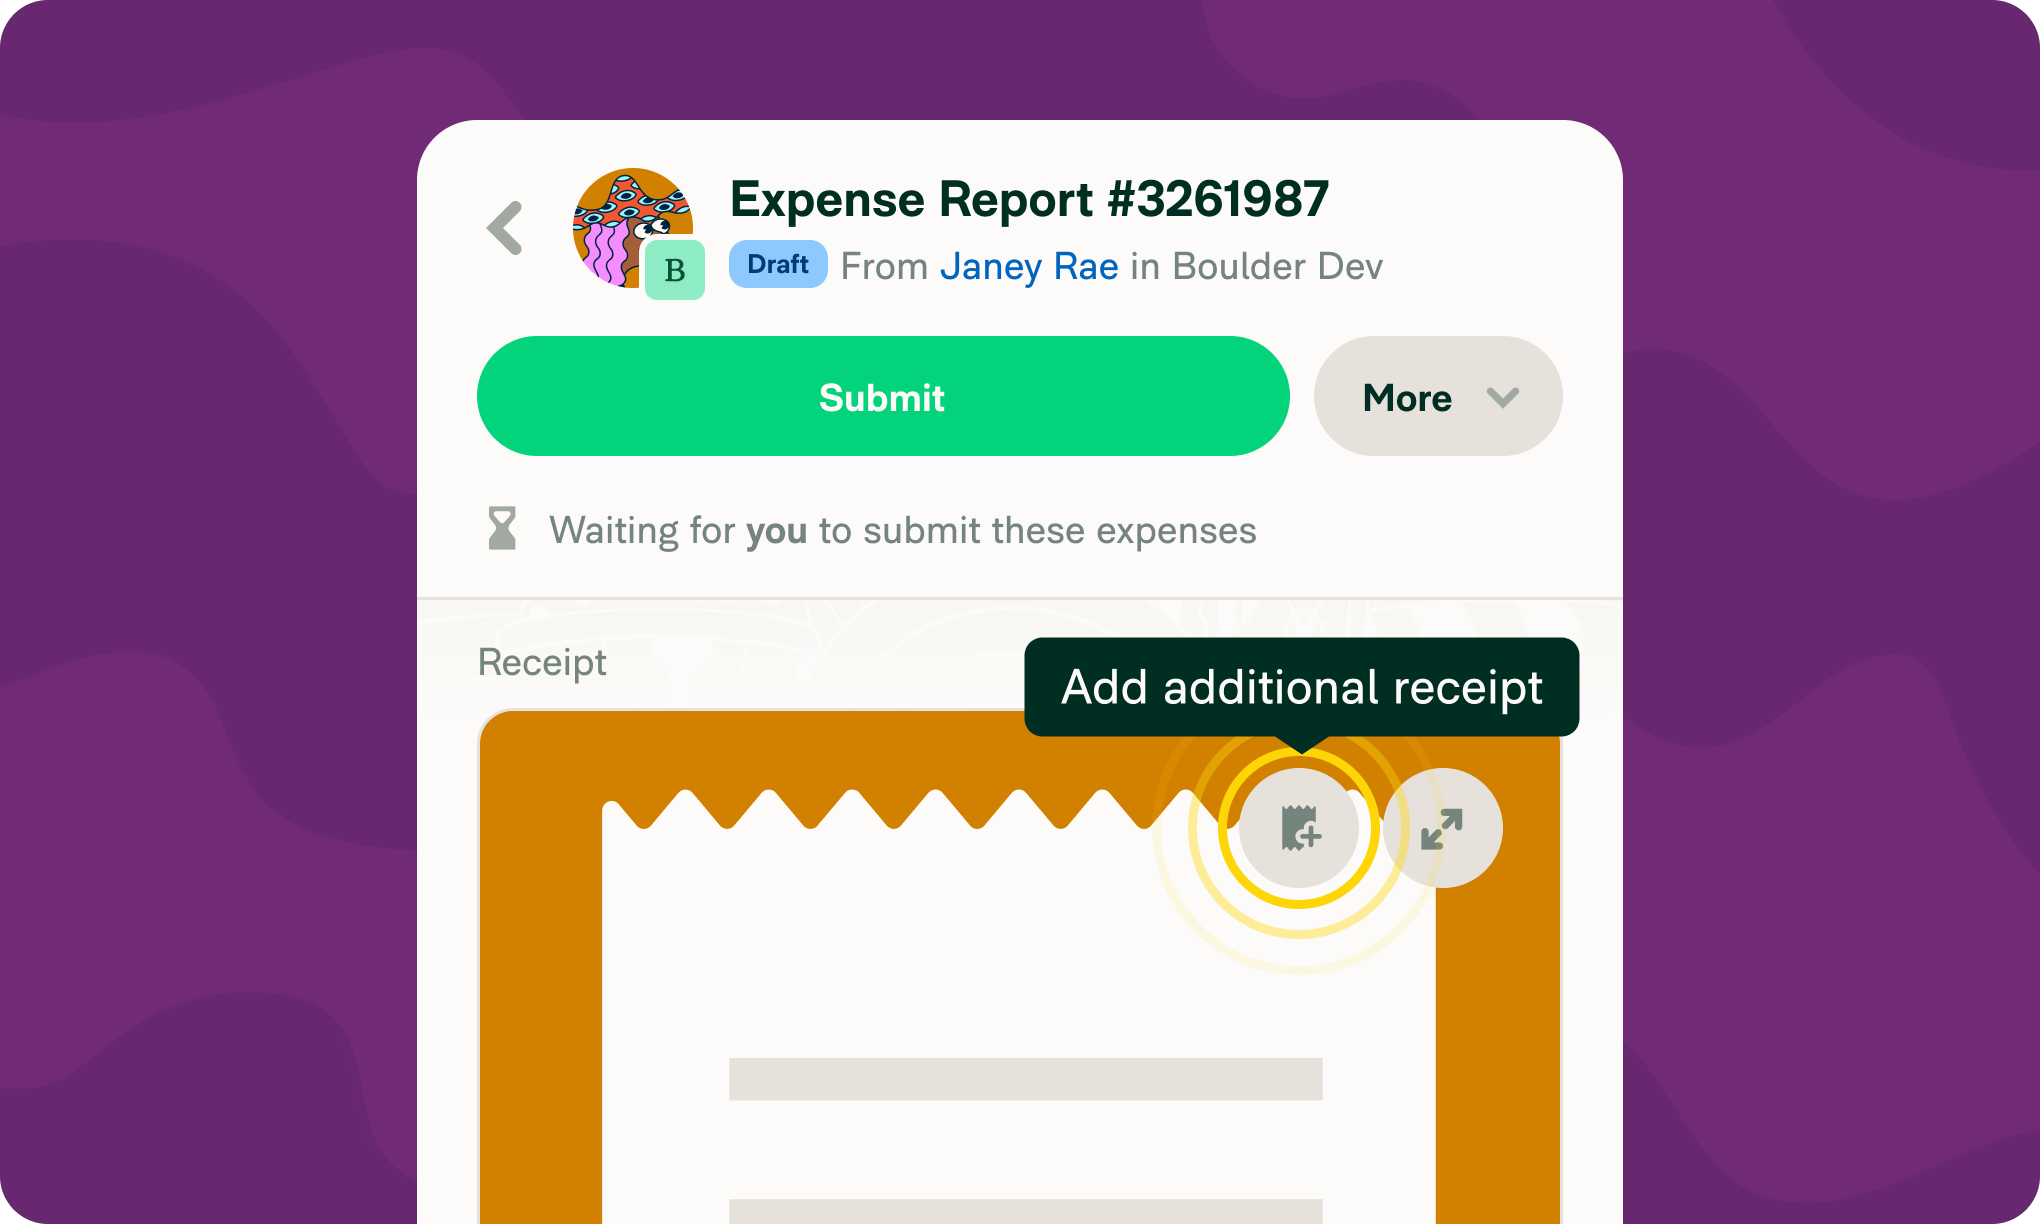
Attach multiple receipts to one expense
Some expenses come with more than one piece of documentation like a hotel folio, a split receipt, or a tip added after the fact. You can now attach multiple receipts to a single expense directly from the receipt preview. Learn how to attach and edit receipts on expenses.
More updates this month
We've also packed in a number of smaller improvements that save time and reduce manual work:
Custom columns in the report view: Customize which columns appear in your individual report view, the same way you can on the Spend page. Learn how to change which columns appear in the report view.
CSV company card transaction import: Import company card transactions via CSV if your bank doesn't support a direct connection. Learn how to import company card transactions via CSV.
Export cards to CSV: Workspace admins can now export a full list of assigned Expensify Cards, including cardholder names and the last four digits. Learn how to export your card list.
Add categories on the fly: While coding an expense, create a new category directly from the category selector without navigating to workspace settings. Learn how to add a category while creating or editing an expense.
Expanded prohibited expenses: Handwritten receipts and gift card purchases can now be flagged as policy violations in workspace settings. Learn how to set up prohibited expenses.
Automatic approver reassignment: When an approval workflow changes, existing processing reports are now automatically reassigned to the updated approver. Learn how to configure approval workflows.
Recover deleted expenses and receipts: Go to Spend > Expenses, filter by Deleted status, and you'll find your deleted expenses with their receipts intact. Restore or duplicate them from there. Learn how to find and restore deleted expenses.
Filter by export destination: Use the new exported-to filter in search to find expenses by where they were exported, whether it’s to QuickBooks, Xero, NetSuite, or any custom template. Learn how to filter by export destination.
Off-domain card issuing: Workspace admins can now assign Expensify Cards to members outside their domain. Learn how to issue Expensify Cards.
Whether you're an admin, an approver, or just trying to get reimbursed faster, there's something in this release for you. We'll be back next month with more.
– Concierge