


Expensify + Dynamics 365 Business Central integration
Get expenses into Dynamics 365 Business Central with the Expensify integration
Expensify's direct integration with Microsoft Dynamics 365 Business Central imports card transactions from your bank, codes expenses to your accounts, and exports approved reports automatically. You'll stop uploading card statements and recoding entries by hand.

Key features

Card feeds from your bank
Connect company cards through a direct or commercial bank feed, and transactions import into Expensify with no statement uploads. Expensify matches card expenses to your Business Central vendors by merchant name, and you can assign a vendor to an individual card or set a default for the rest.

Your chart of accounts, imported
Business Central accounts that allow direct posting come in as categories, along with service and non-inventory items. Turn on any dimension to bring its values in as tags, and VAT posting setups import as tax rates when your company uses them.

Journal entries or purchase invoices
Out-of-pocket expenses export as general journal entries, and company card expenses as purchase invoices by default. You can switch either format to match your books. Journal exports can also send each card program or card to its own account.

Posting control
Pick Create and post to post entries the moment they export, or Create only to review them in Business Central first. Every exported report links to the record it created, and if Business Central rejects an export, the error appears on the report.
How it works
Setting up the Expensify Business Central integration takes three steps.
-
Install the Expensify extension
Add the Expensify extension to your Business Central environment from Microsoft Marketplace and complete its setup, including the journal batch, templates, and number series Expensify will use. You'll also need a Microsoft Entra app registration for Expensify.
-
Connect your workspace
In Expensify, go to Workspaces > [workspace name] > Accounting and select Connect next to Dynamics 365 Business Central. Enter your tenant ID, environment name, client ID, and client secret, and Expensify runs the first sync.
-
Choose what syncs
Pick the company to sync if your environment has more than one, then set your import, export, and posting options. Turn on Auto-sync and Expensify syncs daily, exporting each report once it gets final approval or is paid, depending on your export method.
-
Category
Accounting
-
Plan to use
Control
-
Resources
-
Website
Benefits
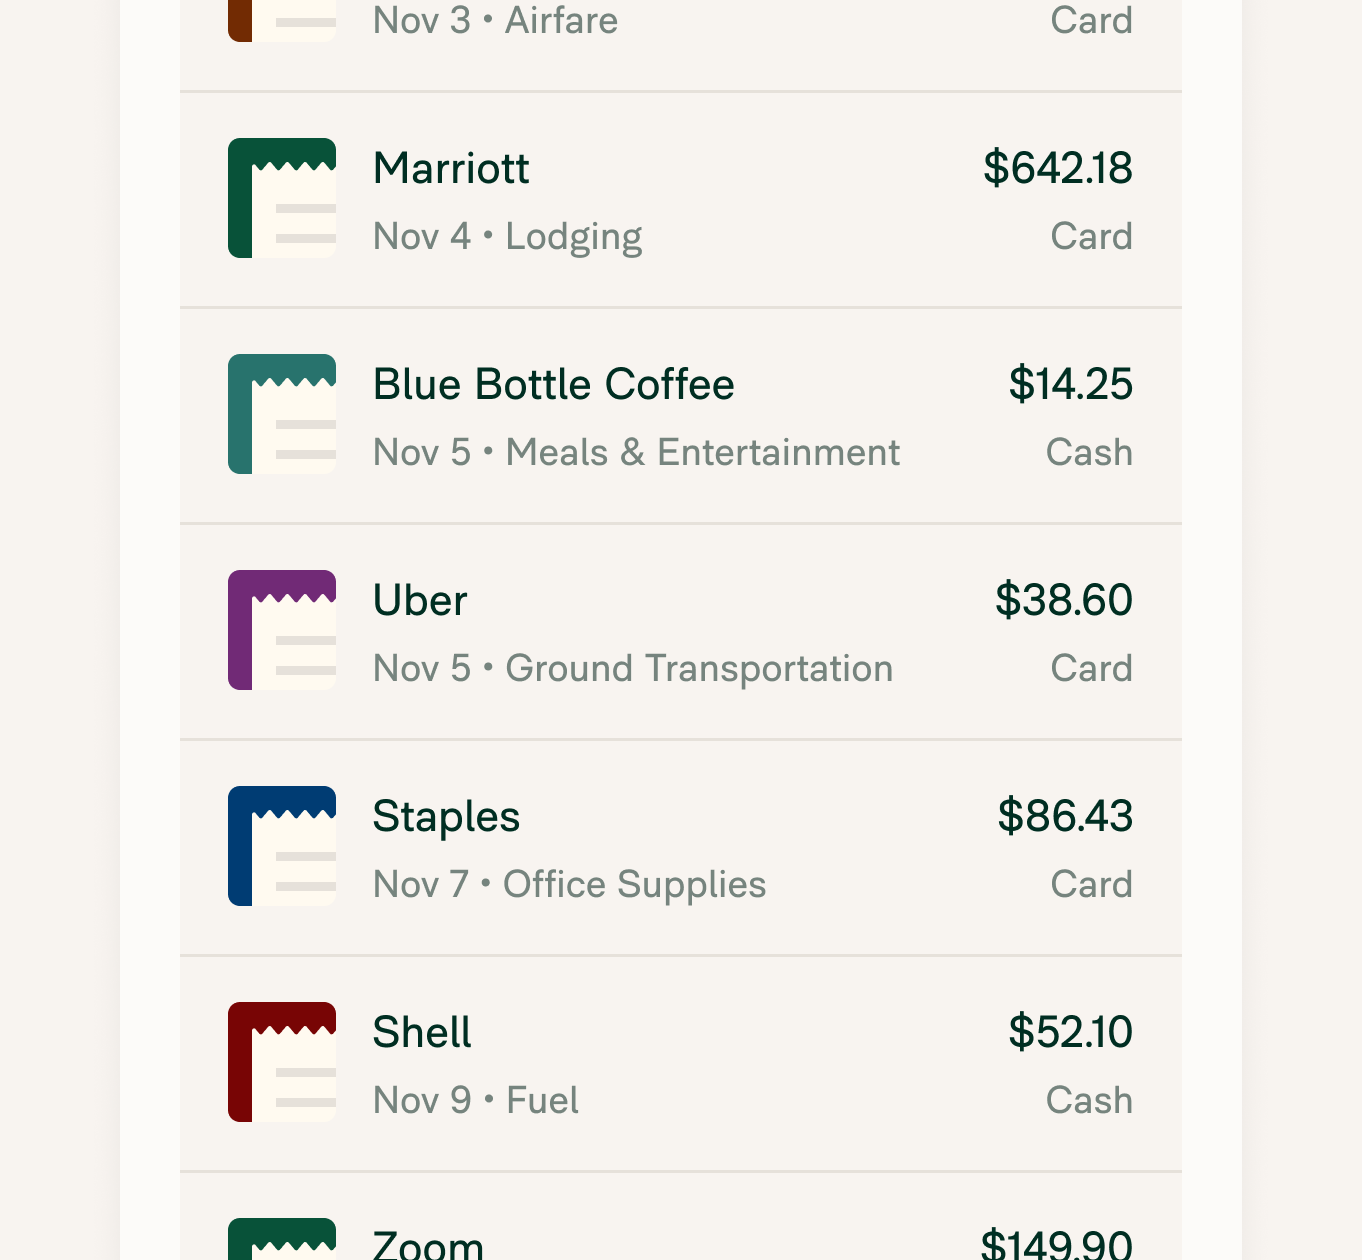
A faster month-end close
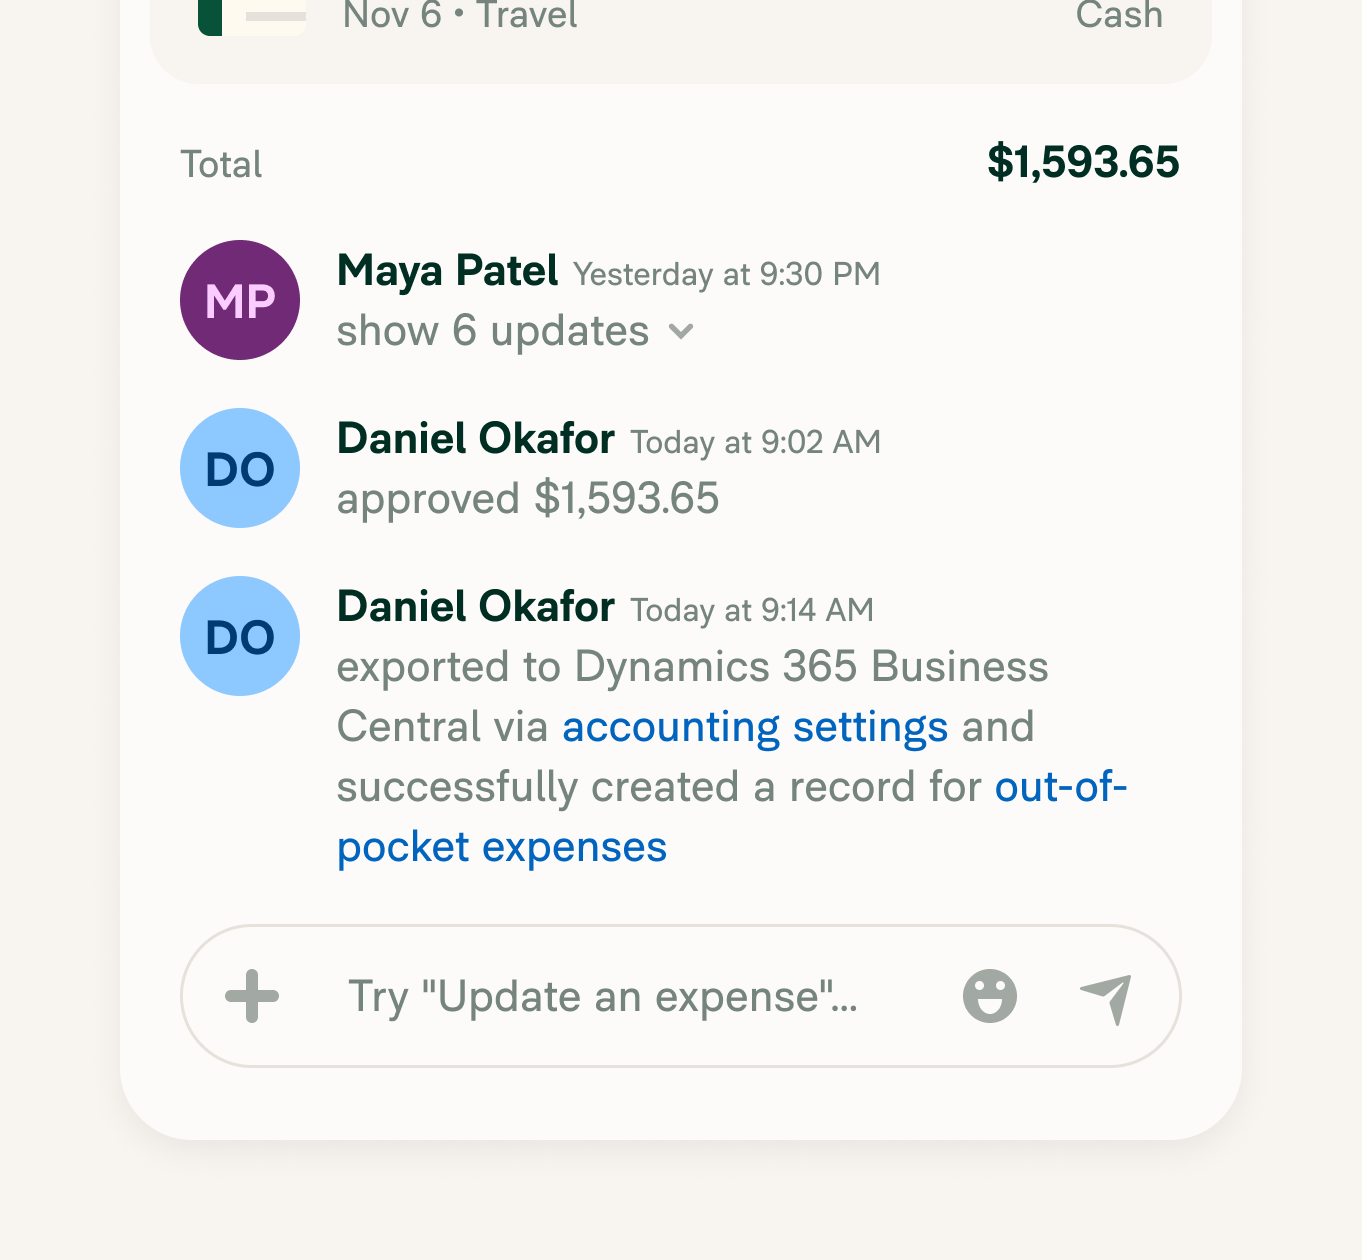
Card spend and out-of-pocket expenses reach Business Central already coded to your accounts and dimensions, so your month-end close starts with the entries in place.
Entries you can trace
Every exported report carries a link to the Business Central document it created. When someone asks where an entry came from, the answer's one click away.
Policy checks before posting
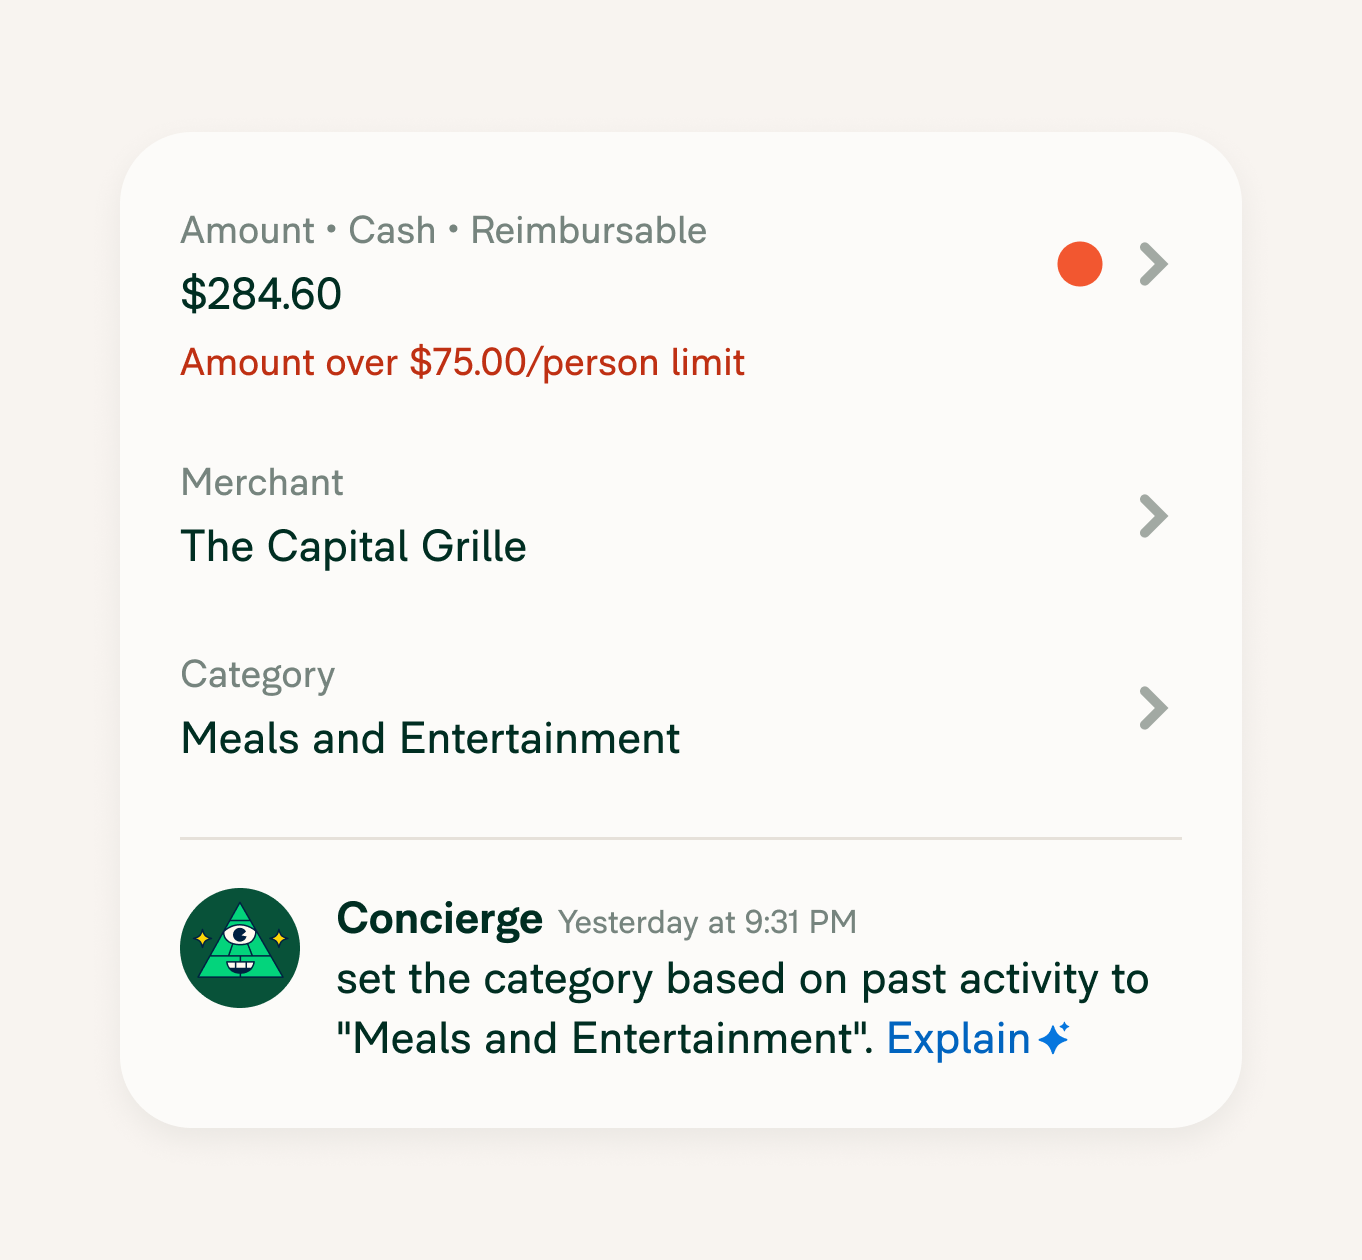
Concierge AI reads each expense in context as it's submitted, using your policies and past activity to categorize it and flag anything out of policy. It catches problems before anything posts to Business Central.
FAQs
-
It's a direct connection for Business Central expense management. Approved reports reach your books without CSV files or re-keying, so Expensify and your general ledger stay in step.
-
Expensify brings in your accounts and service or non-inventory items as categories, enabled dimensions as tags, vendors, and VAT posting setups as tax rates. Projects and customers can come in as tags when purchase invoices are one of your export options. Approved reports go back to Business Central with foreign-currency amounts converted to your base currency, and Auto-create adds any missing vendors or employees.
-
You'll need a workspace on the Control plan and workspace admin access in Expensify. On the Microsoft side, you'll need a Business Central environment where you can install extensions and a Microsoft Entra app registration for Expensify.
-
The direct integration supports Business Central only. For Dynamics 365 Finance and Operations or other Microsoft Dynamics products, Expensify offers a flat-file export template.
-
Yes. Company cards connected through a bank feed and the Expensify Visa® Commercial Card both export to Business Central. You can assign a vendor to an individual card, and Expensify uses it before your default card vendor.
-
Yes, if you turn it on. Once you reimburse a report in Expensify, it can create a general journal line in Business Central to close the employee payable. Expensify Card settlements can sync back to a settlement account you choose, too.
-
Turn on Export to next open period, and Expensify exports reports dated in a closed Business Central period to the next open one. The setting's off by default.
Microsoft, Dynamics 365, and Business Central are trademarks of the Microsoft group of companies. This information was prepared by Expensify and is solely the responsibility of Expensify. Microsoft Corporation does not control or guarantee the accuracy of any content provided by Expensify.
Try Expensify today
See how much time you can save by integrating Expensify with Dynamics 365 Business Central. From onboarding to expense reporting to reimbursement, everything just works faster, smarter, and easier.
Start your free trial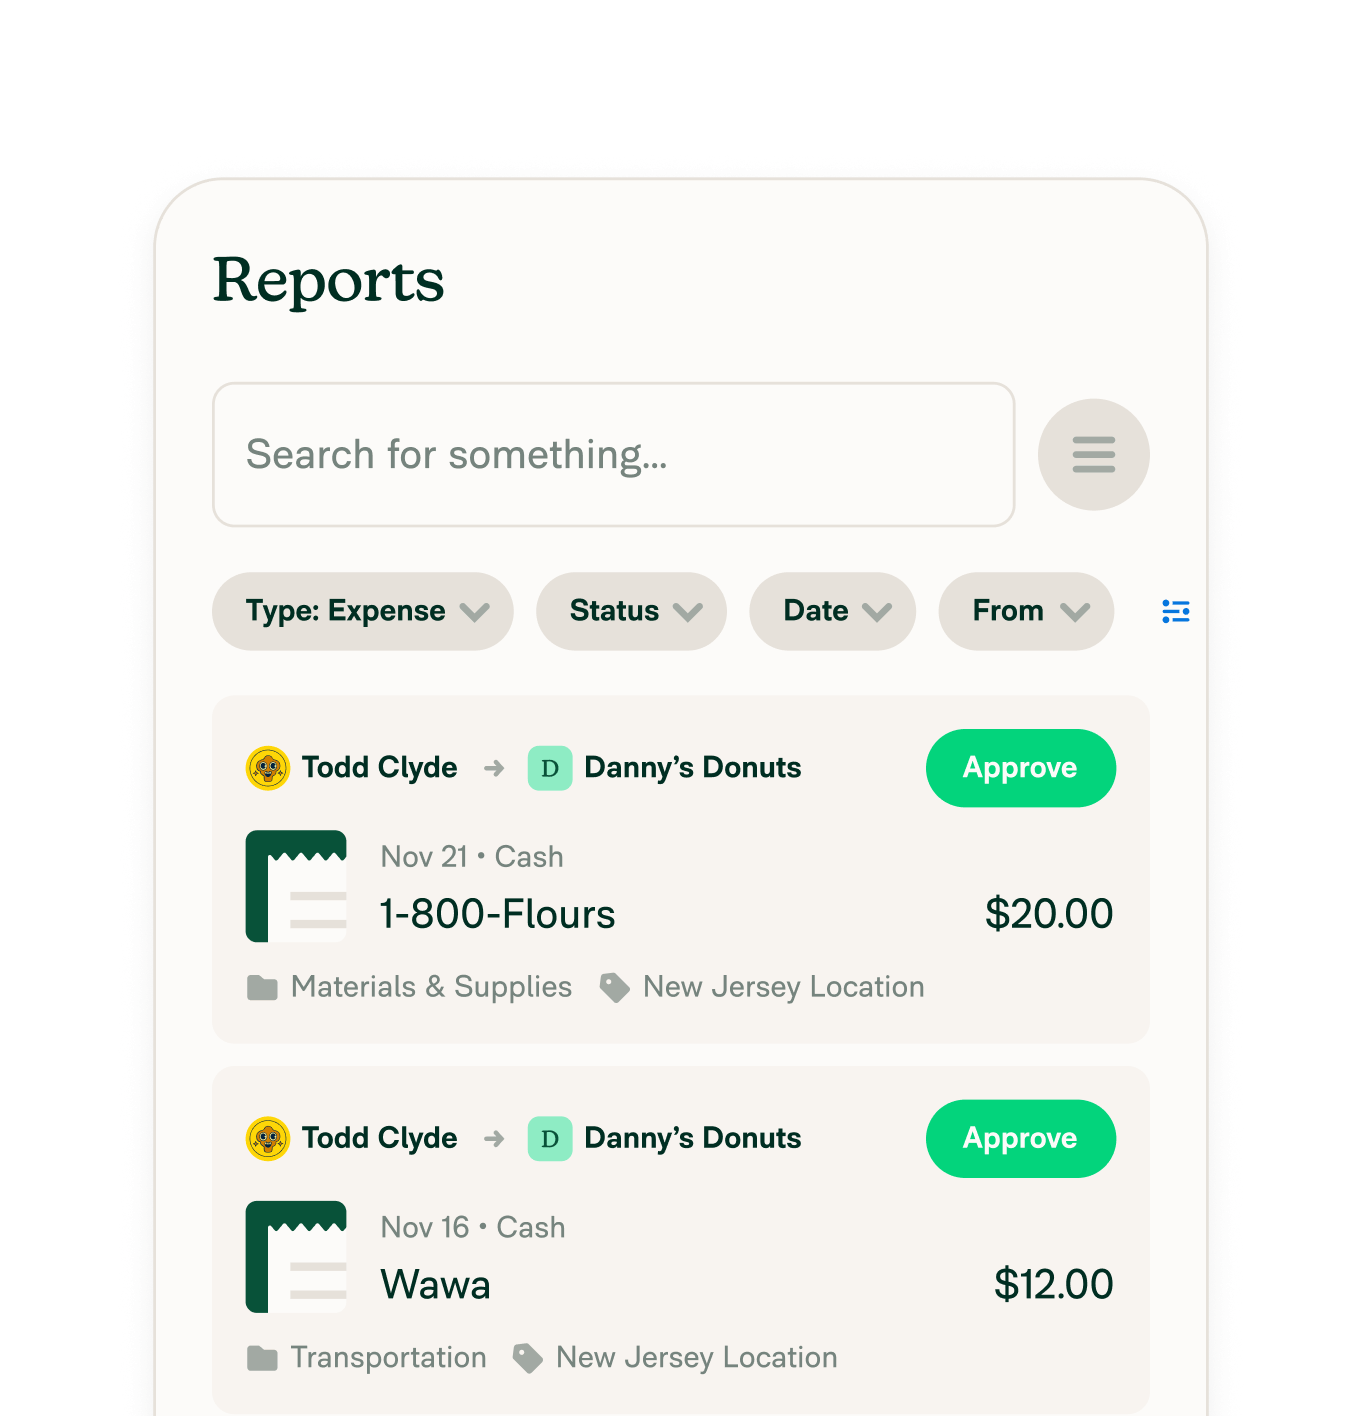
Other integrations


Features
Resources

Get Started


