How to use Expensify for small business expense tracking
It's Friday afternoon, and you've just wrapped up a game-changing client project. Then it hits you – that coffee receipt from Monday's meeting. Is it stuffed in your laptop bag? Your wallet? Or lost to the void of your car's floorboard?
These small expenses – the client lunches, coffee runs, and emergency supply runs – might seem trivial at the moment, but they stack up. Multiply this across your growing team of 20, and suddenly those missing receipts aren't just paper; they're thousands in lost deductions and real money left on the table.
Enter Expensify: the best software for small business expense tracking, at a price point you can afford, no matter the size of your small business. Let’s dive into how to use Expensify step-by-step for businesses with 1-100 employees, ensuring that you can track business expenses without breaking the bank.
Getting started: setting up your Expensify account
First things first: What is Expensify and how does it work?
Expensify is a comprehensive expense management platform that simplifies how businesses track, report, and manage expenses. It works by automating the entire expense reporting process, from receipt scanning to reimbursement, making it the best way to track expenses for small businesses.
We promise getting started with and using Expensify is easy.
Here's how to do it:
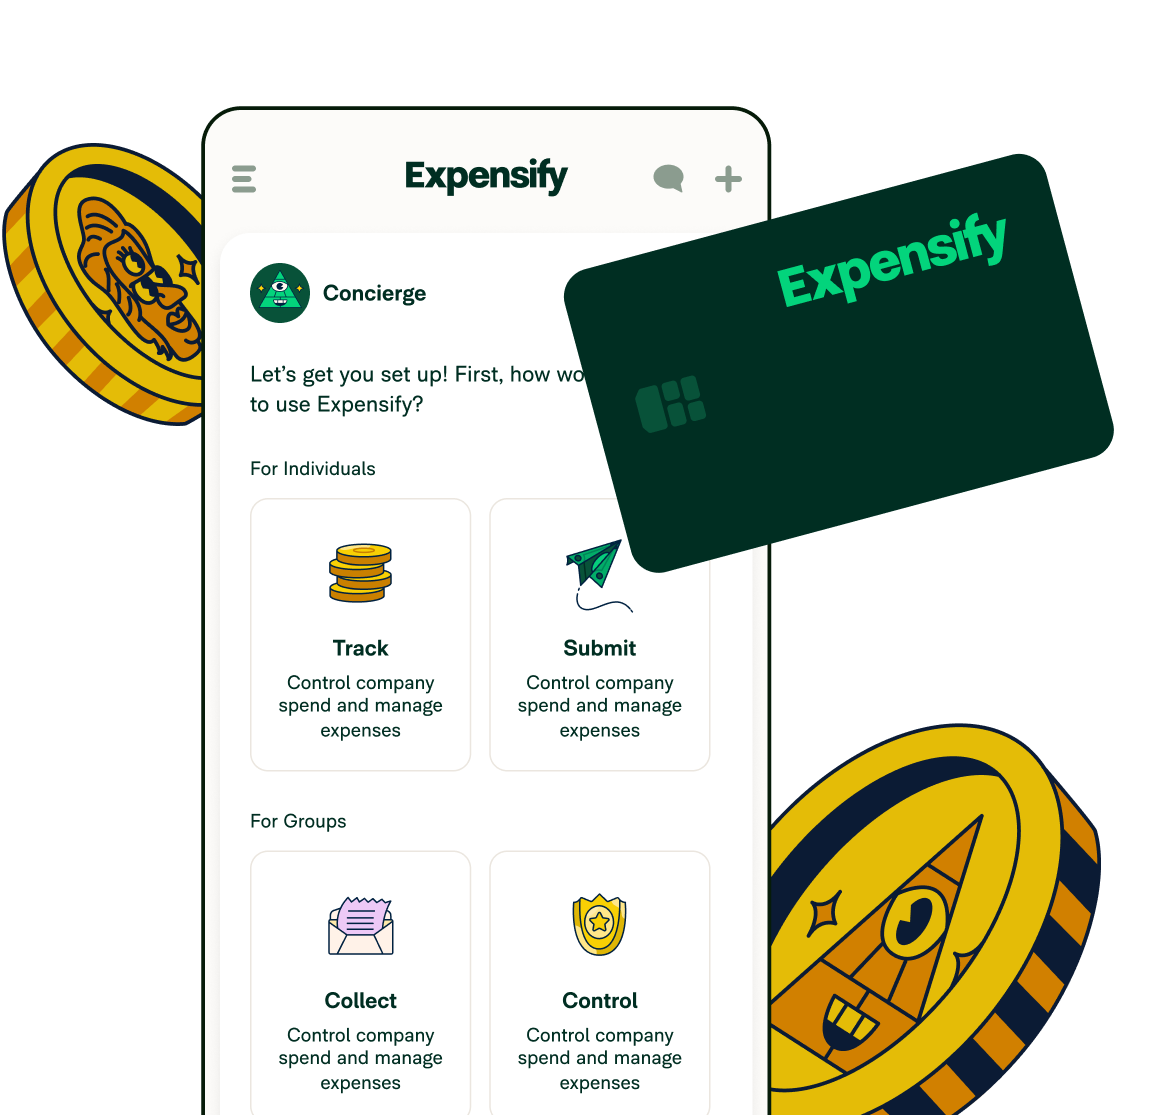
Visit www.expensify.com and click "Sign Up"
Choose between individual or business account setup
Enter your email address or phone number
Create a secure password
Select your pricing plan (Collect or Control)
Add your payment information
Customize your expense categories and policies
Invite team members if needed
The process takes less than 10 minutes, and you'll be ready to start tracking expenses immediately.
When you make a business purchase, you can simply snap a photo of your receipt using the Expensify mobile app, and the SmartScan technology automatically extracts and categorizes the important information. It then organizes these expenses into professional reports, handles approval workflows, and even integrates with your accounting software for seamless reconciliation.
Expensify is designed to be easy to use for self-employed entrepreneurs and very small businesses and robust enough to grow with your company, no matter how big you plan to scale.
Download the app
Always on the go? The Expensify mobile app is your pocket-sized expense tracking assistant. Download it free from the Apple App Store for iOS devices or Google Play Store for Android devices. Once installed, log in with your Expensify account credentials, and you're ready to start capturing receipts on the go.
If you’re wondering how to use the Expensify app, the intuitive interface makes it easy to track expenses, create reports, and manage approvals directly from your smartphone.
You can also check out our Expensify app demo video on YouTube for a quick walkthrough.
Automate receipt tracking with SmartScan
Say goodbye to manual receipt tracking. Expensify's SmartScan technology allows you to snap photos of receipts using your smartphone. The app then extracts relevant information, such as vendor, date, and amount, thereby automating the expense entry process. The app also saves the photo of the receipt, which is IRS-compliant in case of an audit.
SmartScan is optimized for accuracy over speed, so don’t worry if it seems like the receipt scanning is taking longer than a few minutes. You can close the app, put your phone away, and the app can take care of the rest automatically.
Emailed receipts? No problem, just forward the receipt from the email address you use to log into Expensify to receipts@expensify.com, and it will be SmartScanned.
Want to go faster? We make it even easier! Just text a receipt to 47777 with your US number and we'll handle the rest.
Create expense reports and set up approval workflows
Make the tedious chore of expense reports a thing of the past. Instead, compile your expenses effortlessly into professional-looking reports. Group expenses by trip, date, project, or any custom criteria you need.
If you have one or more employees, you can set up a report approval workflow, so you can review their expenses to approve and reimburse them, as soon as the next day.
Integrate with any accounting software
Expensify seamlessly offers integrated accounting software like QuickBooks and Xero. Sync your expenses with your accounting system effortlessly, reducing the risk of errors and ensuring your financial records are always up-to-date.
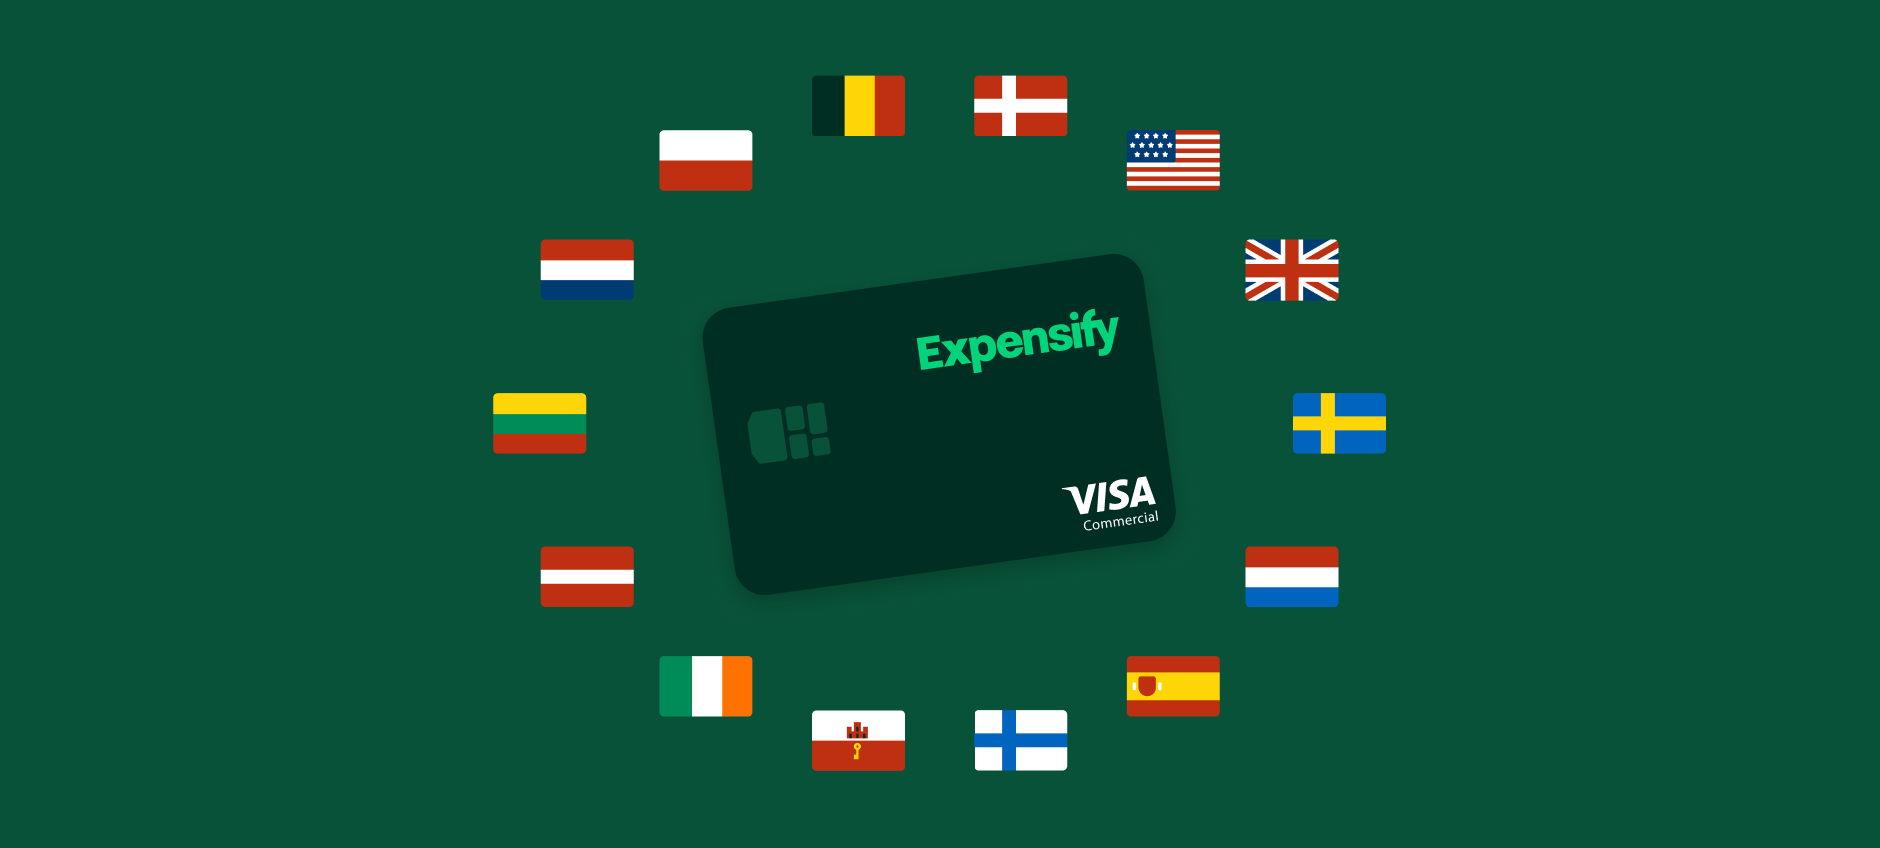
Consider the Expensify Card
If you already have a company credit card, you can import the transactions directly into Expensify, ensuring that you keep track of every expense, even if you miss a receipt.
Don’t have a corporate card yet? No problem!
The Expensify Card was made for small businesses who want the ease of a corporate card without an arduous signup process. Plus, you can just swipe, tap, or insert your card when paying and BAM! – just like that, your expenses are done, thanks to the auto import feature.
But wait, there’s more! Get up to 2% cash back on all USD spend, settle up monthly or daily, and save up to 50% on your monthly Expensify bill, all thanks to the Expensify Visa® Commercial Card.
Save time + money = a win-win
Expensify offers paid plans (Collect and Control) starting at just $5 per user, per month. Check out our scalable pricing plans to see what’s best for your business.
Simplify, streamline, and succeed with Expensify
For small businesses with 1-100 employees, Expensify is more than just an expense management platform—it's a partner in financial efficiency. By embracing the user-friendly interface and powerful features, you can navigate the complexities of expense management with ease.
Common questions about how to use Expensify
-
Yes, Expensify is designed to be intuitive and user-friendly, even for those who aren't tech-savvy. The platform features a clean interface, automated receipt scanning, and step-by-step guidance for creating expense reports. Most users can master the basic functions within their first day of use, and the mobile app makes it particularly simple to capture and track expenses on the go.
-
Connecting Expensify with QuickBooks takes just a few clicks in your Expensify settings. Once integrated, expenses automatically sync between the two platforms, maintaining consistent categories, classes, and tracking fields. You can map your expense categories to QuickBooks accounts, sync vendors and employees, and export expenses either individually or as part of a report, ensuring your books stay accurate and up-to-date.
-
Small businesses typically track expenses through a combination of methods, including dedicated expense management software like Expensify, business credit cards, digital receipt storage, and accounting software. The most effective approach is to establish a system that captures expenses in realtime, categorizes them correctly for tax purposes, and maintains digital copies of all receipts and invoices for future reference.
-
To create an effective expense sheet, start by listing all expense categories relevant to your business (like office supplies, travel, utilities, and marketing). Create separate columns for the date, description, amount, payment method, and receipt status. Include a summary section that totals expenses by category and month, and consider adding a budget comparison column to track spending against projections.
Most importantly, update your expense sheet regularly to maintain accurate records. However, as your business grows, you really should switch to expense management software that will help you keep better track of your expenses and automate everything to save time and reduce errors.
-
Did you know you can actually use Excel in conjunction with Expensify? Rather than track expenses in Excel, track them in Expensify and then export them to Excel for advanced analysis. While Excel can work for very small businesses, it requires manual data entry and doesn't offer features like receipt scanning or automatic categorization that you'd get with dedicated expense management software like Expensify.