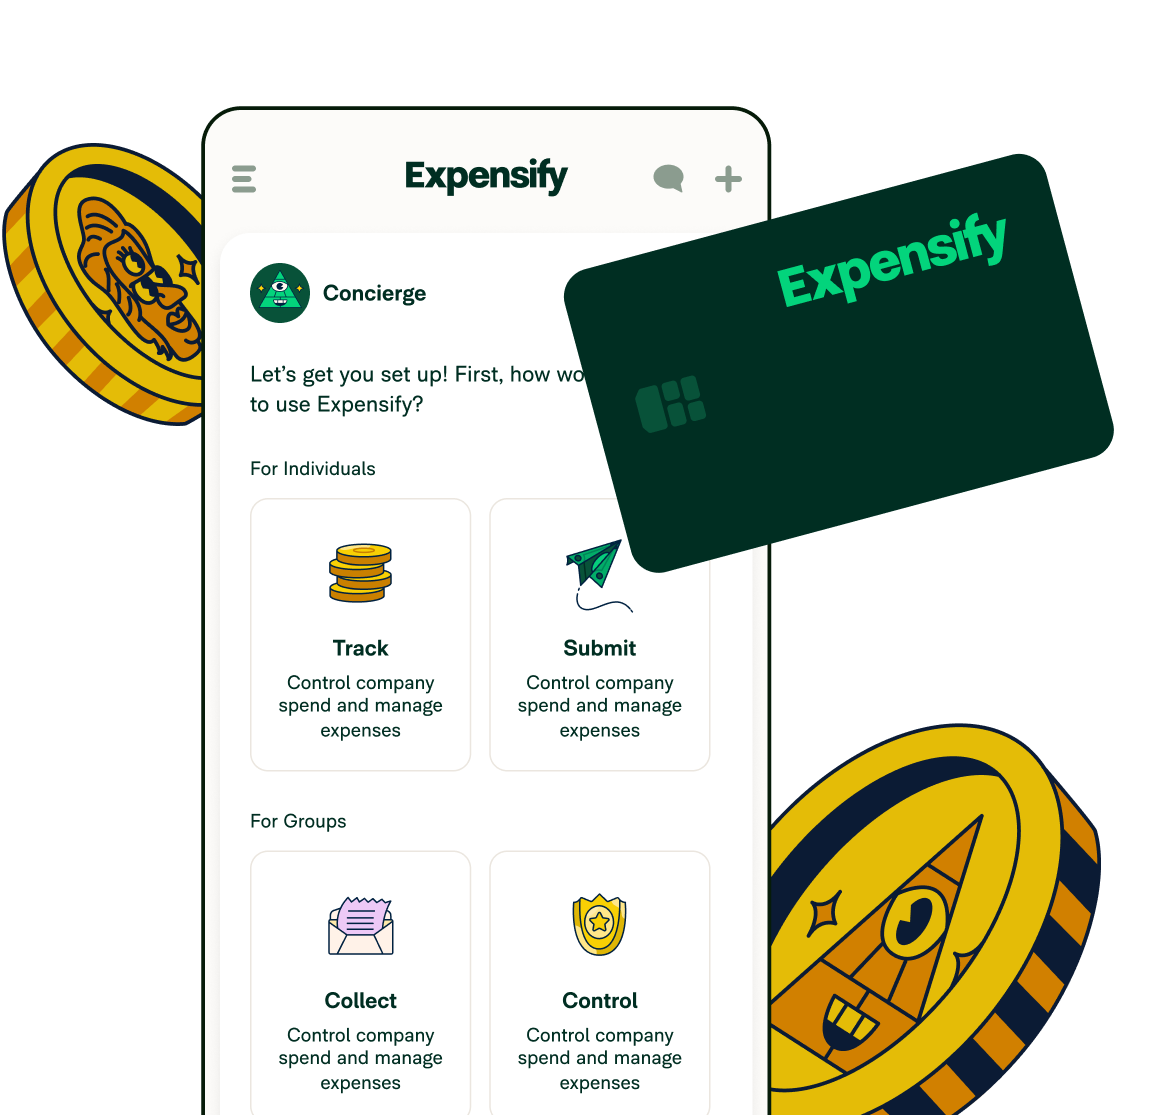
Expensify and Xero integration
Make managing your finances accurate and effortless with the Expensify Xero integration. Automatically sync your expenses and invoices with Xero’s accounting software — making all things expense management a breeze.

Ready to streamline your financial operations?
Enter your information below and simplify your day-to-day with Expensify’s Xero integration.
How does the Expensify and Xero integration work?
The Expensify and Xero integration works by combining the power of Expensify's expense management software with Xero's accounting capabilities. How does this benefit you? Your finances will be categorized correctly and accounted for in the right place. Our integration with Xero gives you:
Exact expense coding
We pull your existing GL categories from Xero into Expensify and integrate your customer list for expense recharging — no extra data entry required, ensuring total accuracy and control.
Constant, real-time data syncing
From new Xero accounts to Expensify invoices and expense reports, your data is consistently updated. This offers you a real-time view of your financial landscape whenever you need it.
A smoother workflow
The Expensify Xero integration not only empowers you to save time and eliminate duplication but also reduces the risk of errors from manual data transfer.
Features of Expensify’s integration with Xero
Our integration with Xero provides a suite of features designed to make your work easier and your money tasks smoother. You'll save time and keep your financial management processes on track.
Experience the next level of expense management with features including:

Real-time monitoring of expenses
We make sure expenses are coded correctly — with real-time updates that keep everyone in the loop.

Corporate card management
Easily manage your team's corporate cards and get instant insights into your spending trends.

Speedy ACH reimbursements
As soon as reports are approved, employees get their money back within the next business day (and all relevant data remains synced).

Unparalleled security measures
With strong bank-level security (PCI and SOC1 compliance), you can trust us to keep your sensitive data safe.
What is Xero?
Xero is a cloud-based accounting software best known for its user-friendly interface and powerful financial tools. Xero empowers businesses to not only handle their accounting with ease but streamline their entire expense management process. That’s why we decided to partner with them!
Common questions about Expensify and Xero
Whether you're a seasoned Xero user or new to the world of cloud-based accounting software, we can help answer any questions you have about our partnership.
How do I link Xero to Expensify?
Linking Expensify and Xero is simple! Follow our step-by-step guide below to establish an integration between the two platforms.
Step 1: Log in to your Expensify account.
Step 2: Double-check that your pricing plan is “For Groups” — either the “Collect” or “Control” plan.
Step 3: Go to the Settings/Policies tab and select your company name under the Group section. This will reveal additional settings on the left. Choose the “Connections” option and select Xero.
Step 4: Click the “Create a New Xero Connection” link to open the Xero Login Page. Log in with your Xero admin credentials. Expensify will establish a connection with Xero and present sync options.
Step 5: Make your selections and then hit “Save” to complete the connection process.
Step 6: Head to Settings/Policies/Categories and start making your selections for expense categories from the imported list (pro-tip: ensure you have ticked the “Show in expense claims” option in Xero).
If you get stuck at any point, the Concierge team will be on hand to give you real-time support to complete the setup!
How do I code expenses in Expensify for Xero?
To code expenses in Expensify for Xero, the Coding tab will have everything you need to label and sort expenses accurately. To get there, head to Settings > Policies > Group > [Policy Name] > Connections > Configure button > Coding tab.
From there, you’ll be able to customize how expenses and reports are categorized, ensuring real-time accuracy of financial data between the two platforms.
How do I export Expensify data to Xero?
Exporting your Expensify data to Xero is simple. Once an admin approves the expense report in Expensify, it is automatically exported to Xero based on the policy's export configuration.
To make sure this setting is enabled, navigate to Settings > Policies > Group > [Policy Name] > Connections > Configuration > Advanced tab and toggle the Auto-Sync button to “Enabled.”


Implementing a system that removes data entry and paper can save clients up to 50% of their time each month! Needless to say, our customers love it and so do we.
Learn how Aprio Cloud uses Expensify's Xero integration to make their clients’ expense reporting process easier than ever.
The world’s smartest companies use Expensify
See why the best of the best count on Expensify to automate their expenses.


Ready to streamline your financial operations?
Enter your information below and simplify your day-to-day with Expensify’s Xero integration.