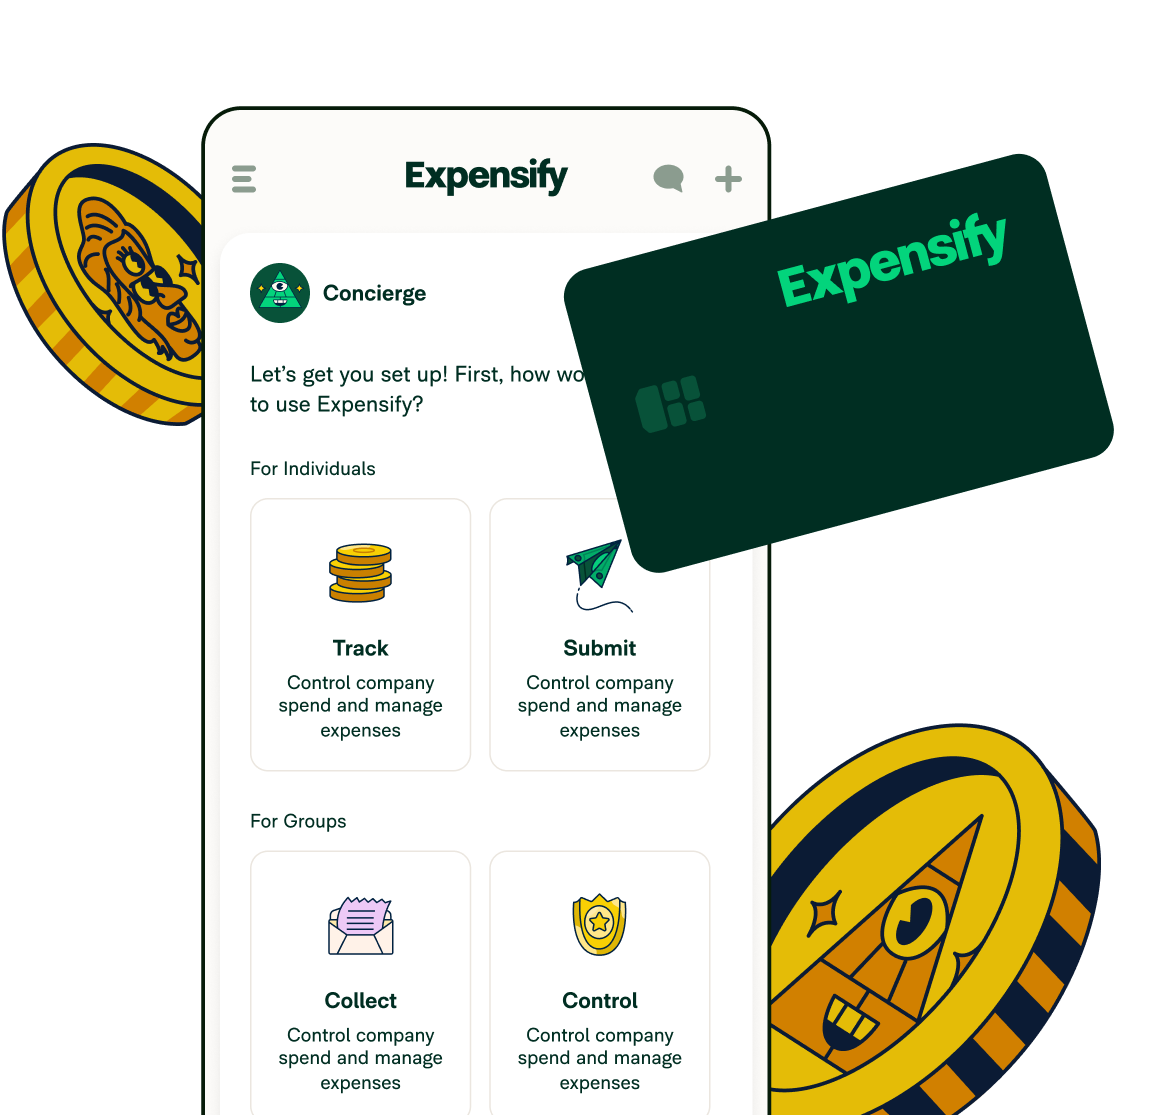
Uber expense reports are made effortless with Expensify

Picture this: you're on a business trip, hopping in and out of Ubers as usual. But this time, there’s no need to scour through your email or app to hunt down receipts for reimbursement, thanks to Expensify’s Uber integration.
With Uber’s auto-expense feature, business travel becomes a whole lot smoother. We combine the convenience of Uber with the efficiency of Expensify to create a seamless integration that changes the game for expense submissions. Now, you can leave manual entries in the dust and capture ride receipts without lifting a finger. Here’s how to do it!
How to turn on Uber expense tracking in Expensify
Let’s walk through the steps to connect your Expensify account to your Uber Business Profile, ensuring every trip is tracked with ease.
Go to your Uber Business Profile.
Navigate to Expensing > Expensify.
Enter your work email address.
Click "Connect."
Call your Uber — you’re all set!
With the Expensify Uber integration, your ride and meal receipts automatically populate as expenses in Expensify. That means no more app digging to find that elusive ride receipt or proof of purchase — just smooth, auto-synced records for hassle-free business trips.
Benefits of Uber expense tracking with Expensify
Teaming up with Uber has supercharged our mission to make expense reporting a breeze. Here’s what you get when you let Uber and Expensify give you a hand with your receipts.
Automated expense reporting
Every time you take an Uber ride or order a meal through Uber Eats, a receipt is automatically sent to Expensify, meaning you’ll get both effortless reporting and faster reimbursements.
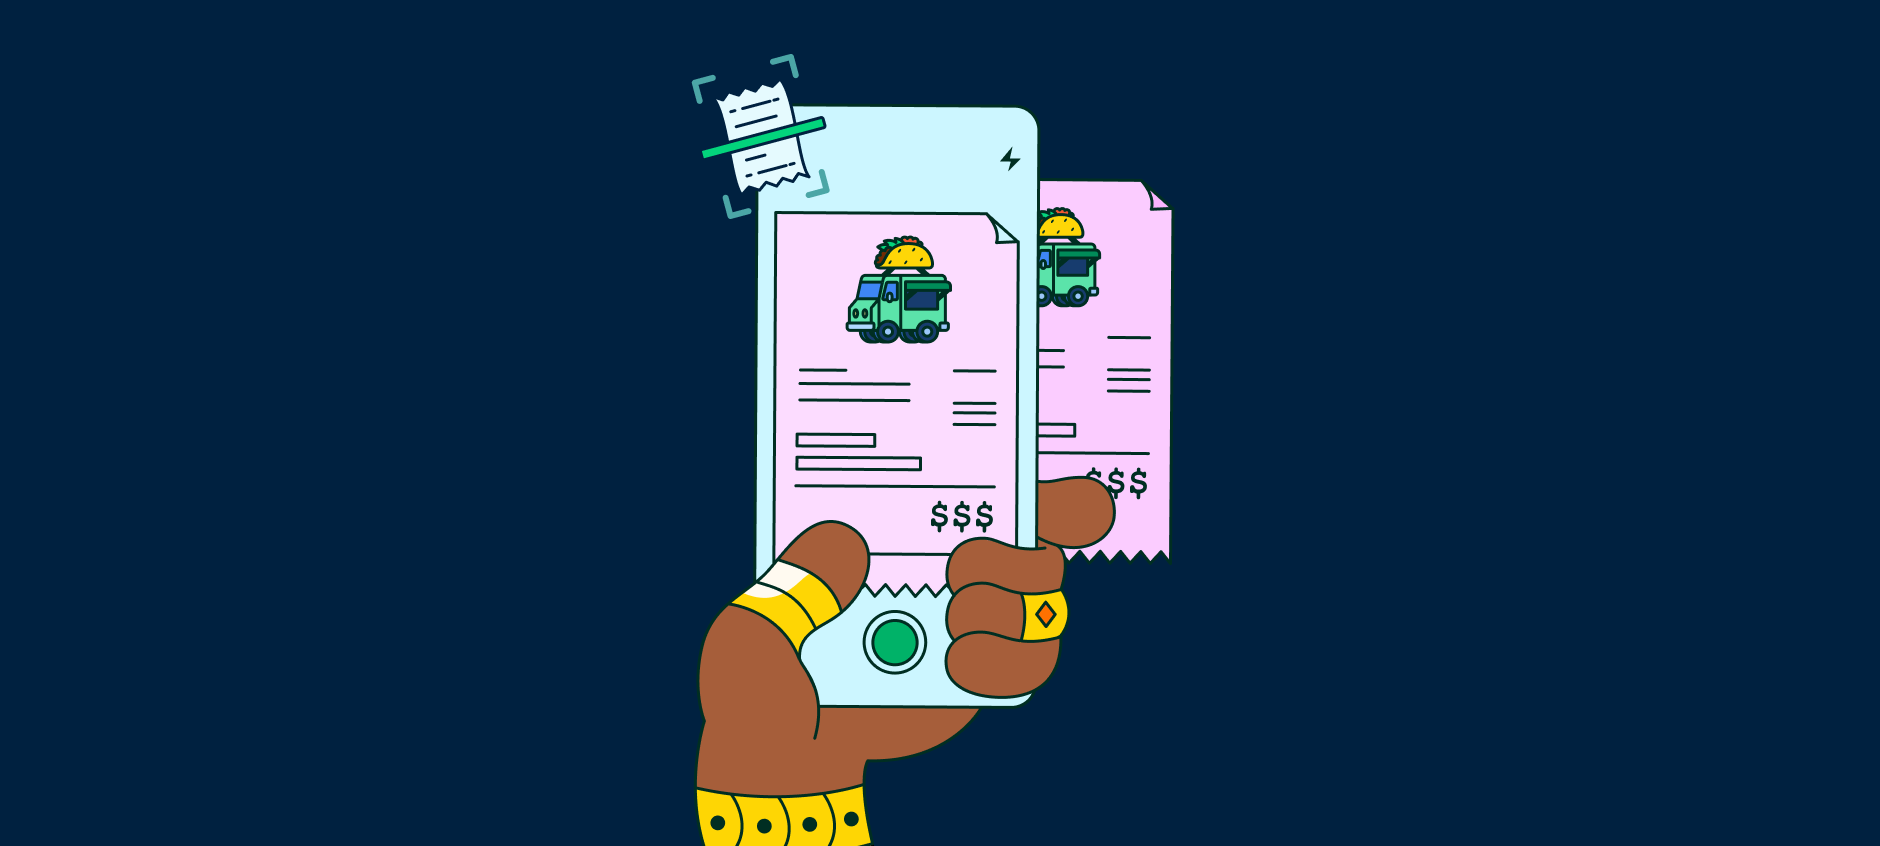
Digital receipt capture
Lost receipts? Never again. With a fully digitized and automated process, you can bid paper receipts farewell, freeing up space in your wallet (and your brain) for more important things.
More time back
Every second counts — especially when you’re traveling. Our partnership with Uber ensures you can focus on the essentials during business travel. And for the accountants back in the office? They'll love that the organized, digital format speeds up the preaccounting process.
Uber receipts and miles
When you use Uber for work-related travel, such as commuting to meetings, conferences, or client visits, you may be eligible to claim mileage as a business expense on your taxes. This is particularly applicable if your employer doesn’t reimburse you for these travel expenses. However, it's essential to keep detailed records, including dates, destinations, and purposes of each trip, to support these deductions during tax filing season.
Why tracking Uber receipts is important for expense reporting
Tracking receipts for accurate expense reporting is crucial for financial accountability and tax compliance. It provides a clear record of spending, allowing for better budget management and identifying areas for cost savings. Accurate expense reporting ensures transparency in business dealings and minimizes the risk of financial discrepancies or audits.
Tips and tricks for organizing Uber receipts
Expense categories
Categorize your Uber receipts by purpose (business, personal, medical, etc.) to simplify expense reporting and tax deductions.
Monthly summaries
Compile monthly summaries of your Uber expenses to track spending patterns and budget effectively.
Sync with your calendar
Sync your Uber trips with your calendar app to cross-reference trip details with your schedule, making it easier to categorize business-related trips.
Track mileage
You might be wondering: does Uber track mileage for expenses? With our integration, Expensify does it for you! Alongside receipts, it’s important to keep track of mileage for each Uber trip, especially if you're eligible for tax deductions based on mileage.
Common questions about Uber expense reports
Still looking for answers about the world of Uber expense tracking? We've got you covered with these FAQs.
-
Once the two apps are connected, any new Uber business expense reports will flow automatically into Expensify. Simply log in to your Expensify account, and you'll find all the expenses categorized and ready for reporting.
-
To get a receipt from Uber, head to your Uber app once your trip or meal delivery is complete. From there, you can access the "Past Rides" or "Past Orders" sections to view and download individual receipts.
With our integration, these receipts are automatically synced to Expensify, so you can easily view receipts on your expense reports.
-
The expense code in Uber allows users, especially business travelers, to categorize their rides for better tracking and reporting. After completing a trip, users can opt to add an expense code by going to “Trip History” and choosing to add a note, like "Client Meeting" or "Conference." By adding these details, passengers can ensure that each Uber ride is accurately tagged, simplifying the expense reporting process down the line.
-
No, Uber drivers don't provide physical receipts. All receipts are digitally accessible via the Uber app or on your expense reports when synced with Expensify.
-
To check your Uber purchase history, follow these steps:
Launch the Uber app on your smartphone or tablet.
Sign in to your Uber account using your email address and password.
Once signed in, tap on the menu icon located in the top-left corner of the app. It typically looks like three horizontal lines or bars.
Select "Your Trips": In the menu, you should see an option labeled "Your Trips" or something similar. Tap on it to access your trip history.
You'll now see a list of your past Uber trips. Each trip entry typically includes details such as the date, time, pickup location, drop-off location, driver's name, and fare.
Tap on any trip to view more details, including the fare breakdown and payment method used for the trip.
If you're looking for a specific trip, you can use the search bar or filter options (if available) to narrow down your search based on date or other criteria.
For each trip, you can also access the trip receipt, which provides a detailed summary of the trip.
Next to each trip, there should be an option to download the receipt. Click on it to download the receipt for that specific trip. This is also how you can print your Uber receipts for an expense report, if needed.
No matter where you’re going, Expensify helps you save time and money along the way
Navigating business travel can be hectic enough without the added stress of managing receipts. Whether you're sealing deals or exploring a new city, you should be able to focus on the experience and the tasks at hand without giving paperwork a second thought. That's the driving force behind our partnership with Uber.
Ready to get started? Enter your information below, and let us take the wheel.
Travel expense reporting just got easier
Sign up today to see how easy it is to sync with Uber.
Expensify values your privacy. We’ll never sell your personal information to others.